Hence, lets delve into the world of laminate countertops to help with your next remodeling!
Well also take a look at its practical side, providing insights into installation and resurfacing options.
Compared to materials like granite or quartz, laminate offers a significant cost advantage without compromising on style.
Their lightweight nature makes them a favorite among DIY enthusiasts.
Plus, for those wanting a custom touch, painting laminate countertops is a viable option.
Yes, you read that rightyou can paint and cover laminate countertops!
Also, avoid scrubbing and stay away from abrasive cleaners or scouring pads, which can damage the surface.
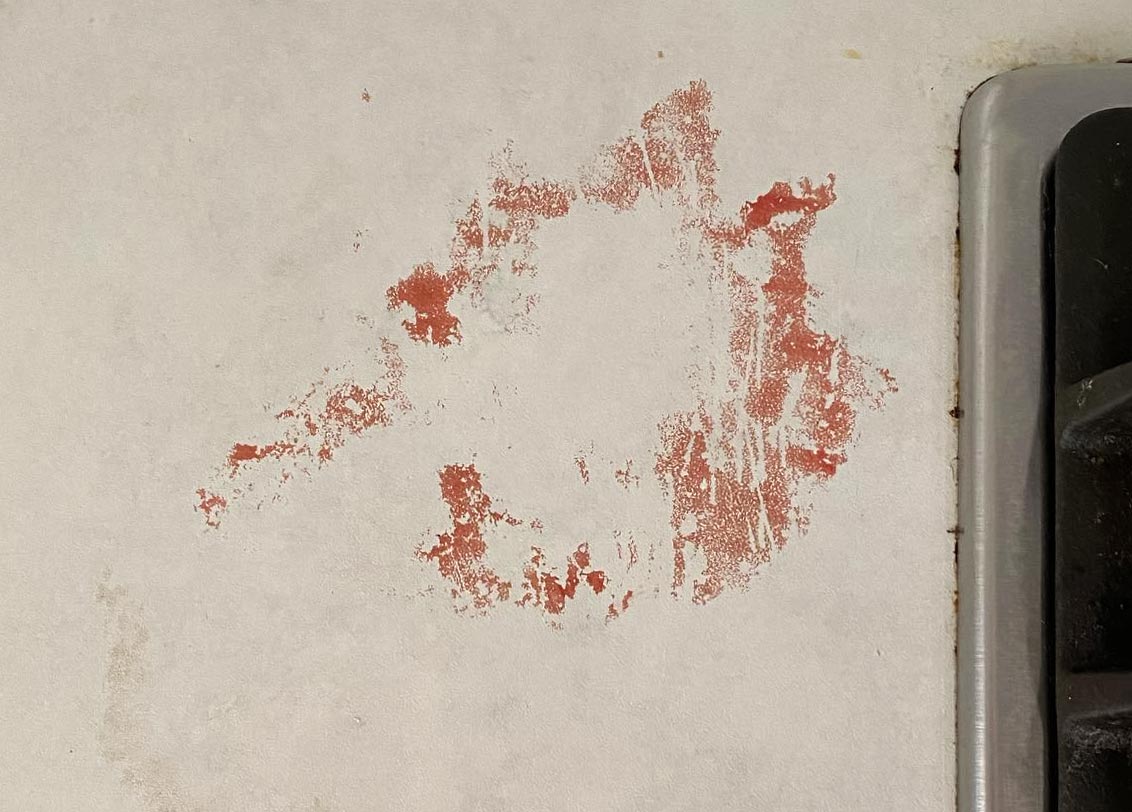
Laminate countertops are also prone to scratching and chipping, so cutting directly on them isnt recommended.
Use cutting boards and trivets to maintain the integrity of your countertops.
This is shorter compared to materials like granite or quartz, which can last virtually indefinitely with proper care.
Homebuyers often perceive materials like granite or quartz as more desirable and premium.
Heres a step-by-step guide to help you through the process.
Dont forget to account for overhangs, edges, corners, and extra space for appliances.
verify you also measure the placement of the sink and faucet.
Choose Your Laminate
Share iconSelect the laminate that best suits your style and needs.

Consider the durability of different types of laminatein this case, professional advice is highly recommended!
There are numerous colors and patterns available, so youre bound to find something that fits your homes aesthetic.
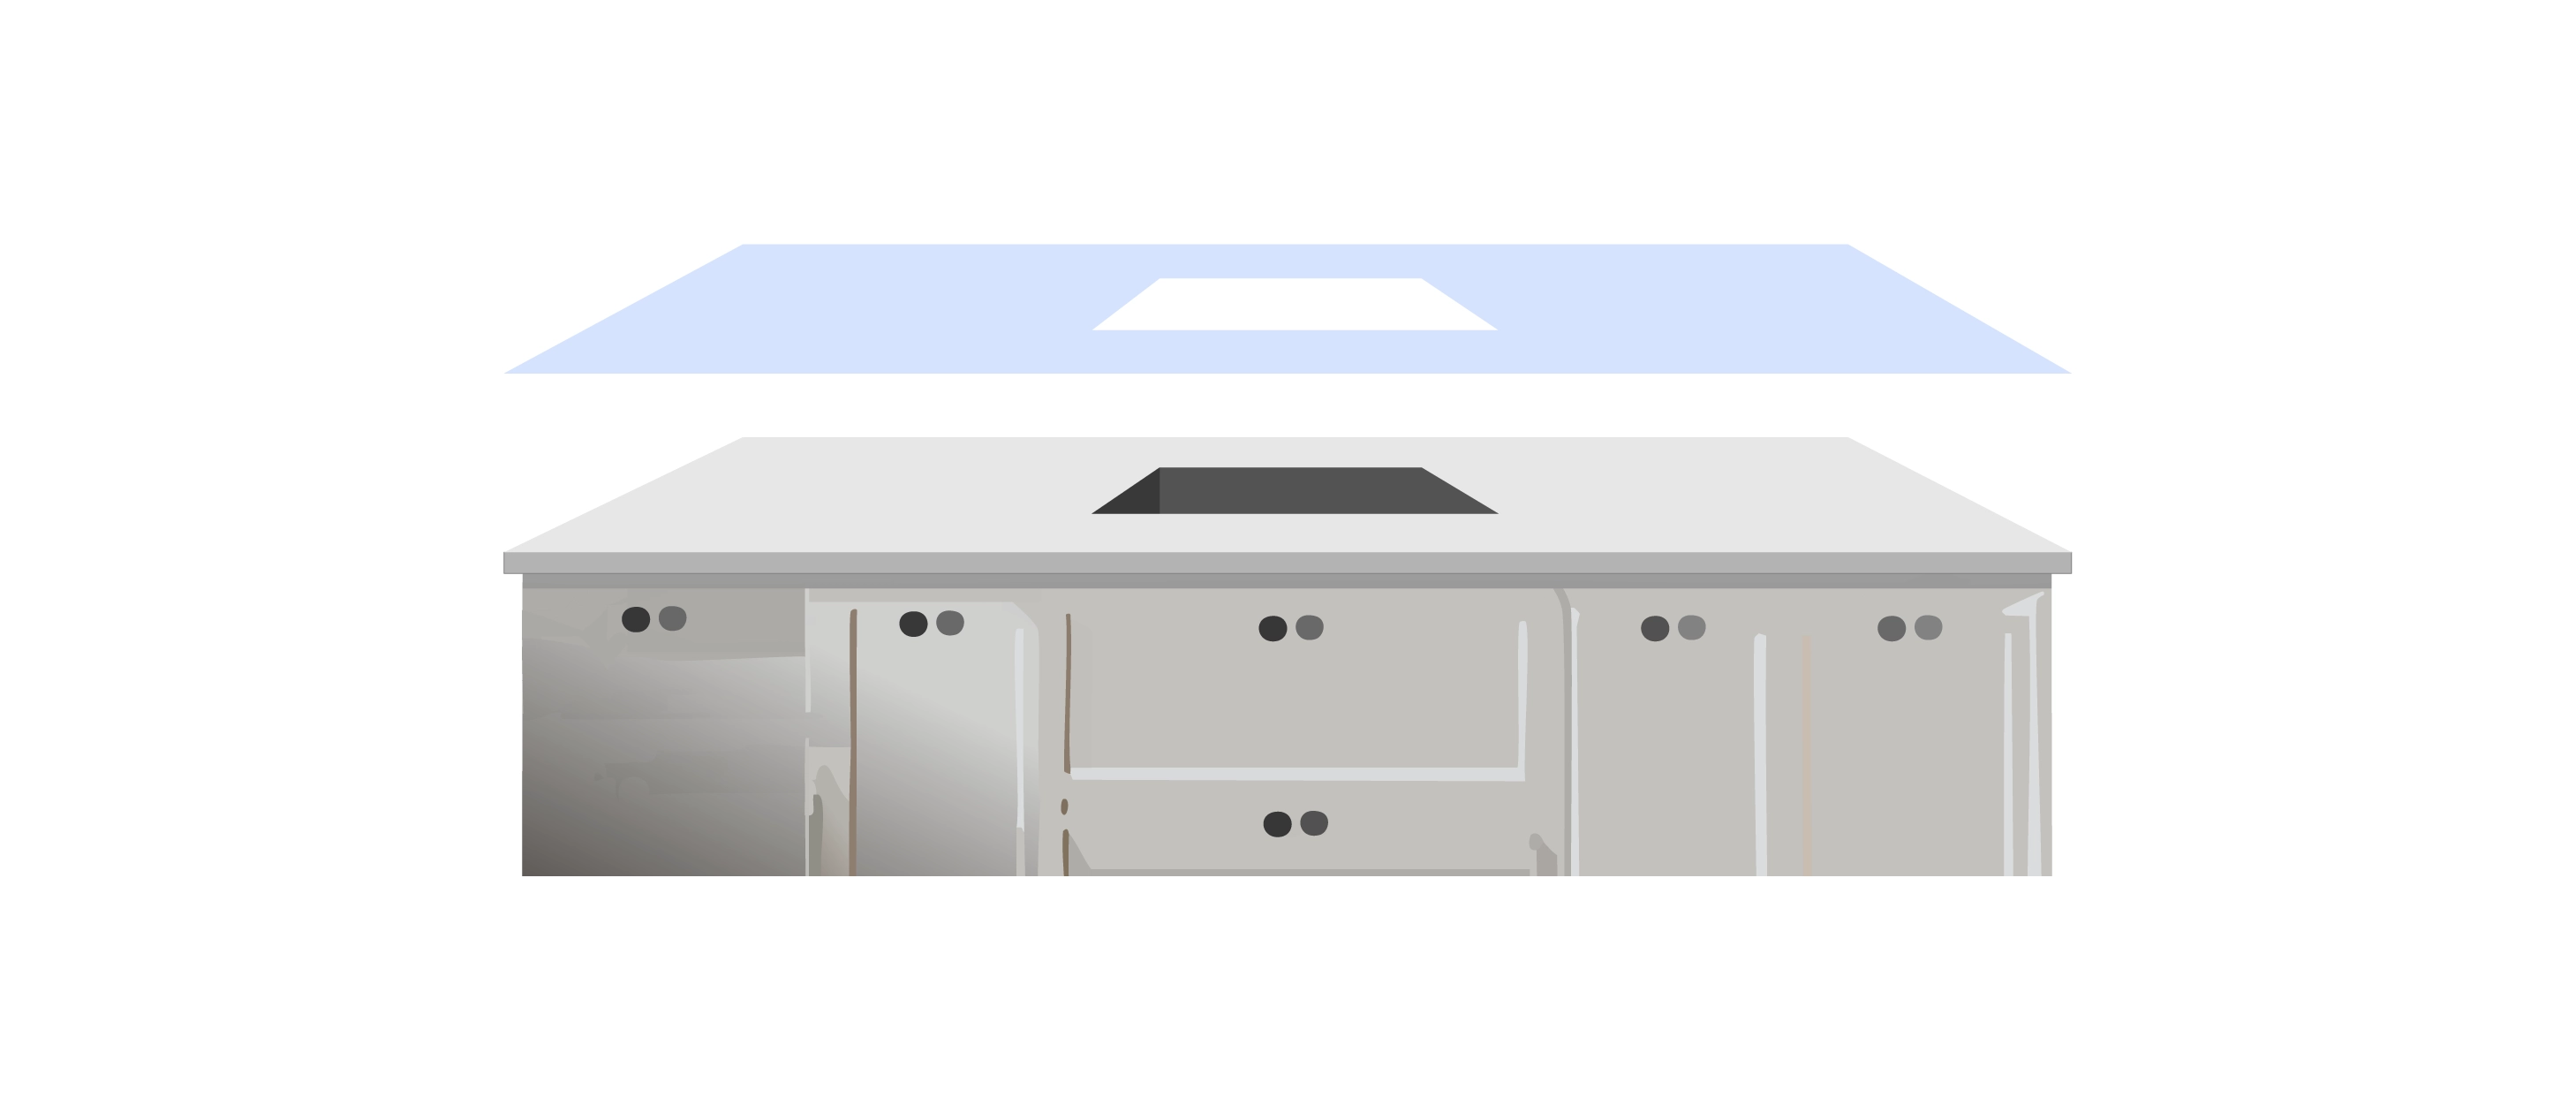
Remove the Existing Countertop
Share iconCarefully remove the sink and the existing countertop.
Beware of any attached plumbing and wiring.
In some cases, it may be necessary to cut through the glue and sealant along the backsplash.
Adjust any unevenness with shims.

This step is crucial for the longevity and final appearance of your laminate kitchen countertops.
Remember, its always better to cut a bit larger and trim later.
Check that your countertop sits flush against the wall, as gaps can be noticeable.
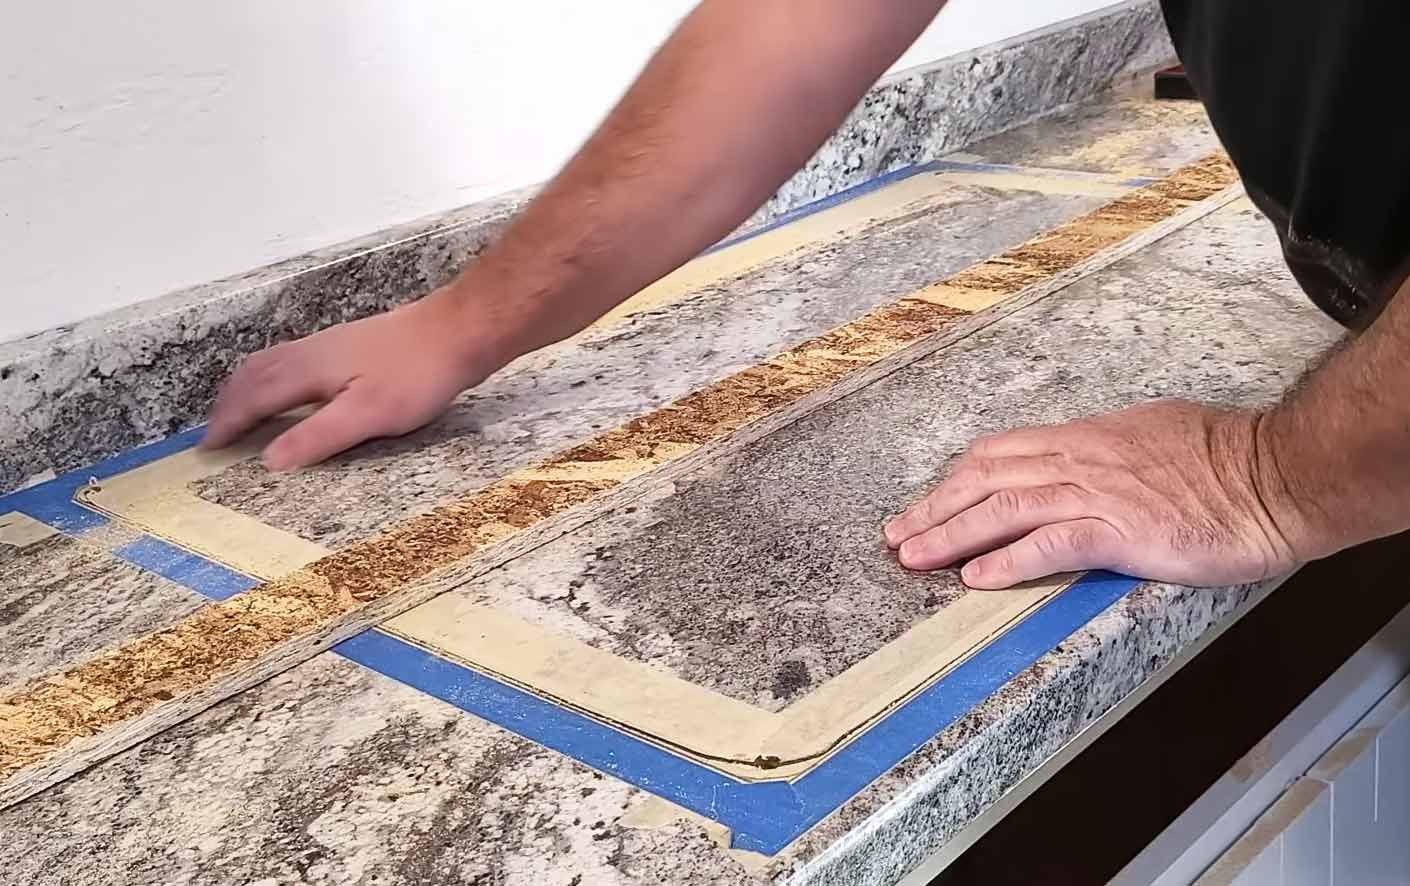
Trim and Seal Edges
Share iconTrim any excess laminate using a router or file.
Then, seal the edges with a suitable sealant for a smooth, water-resistant finish.
Be careful to avoid spills on the laminate surface.
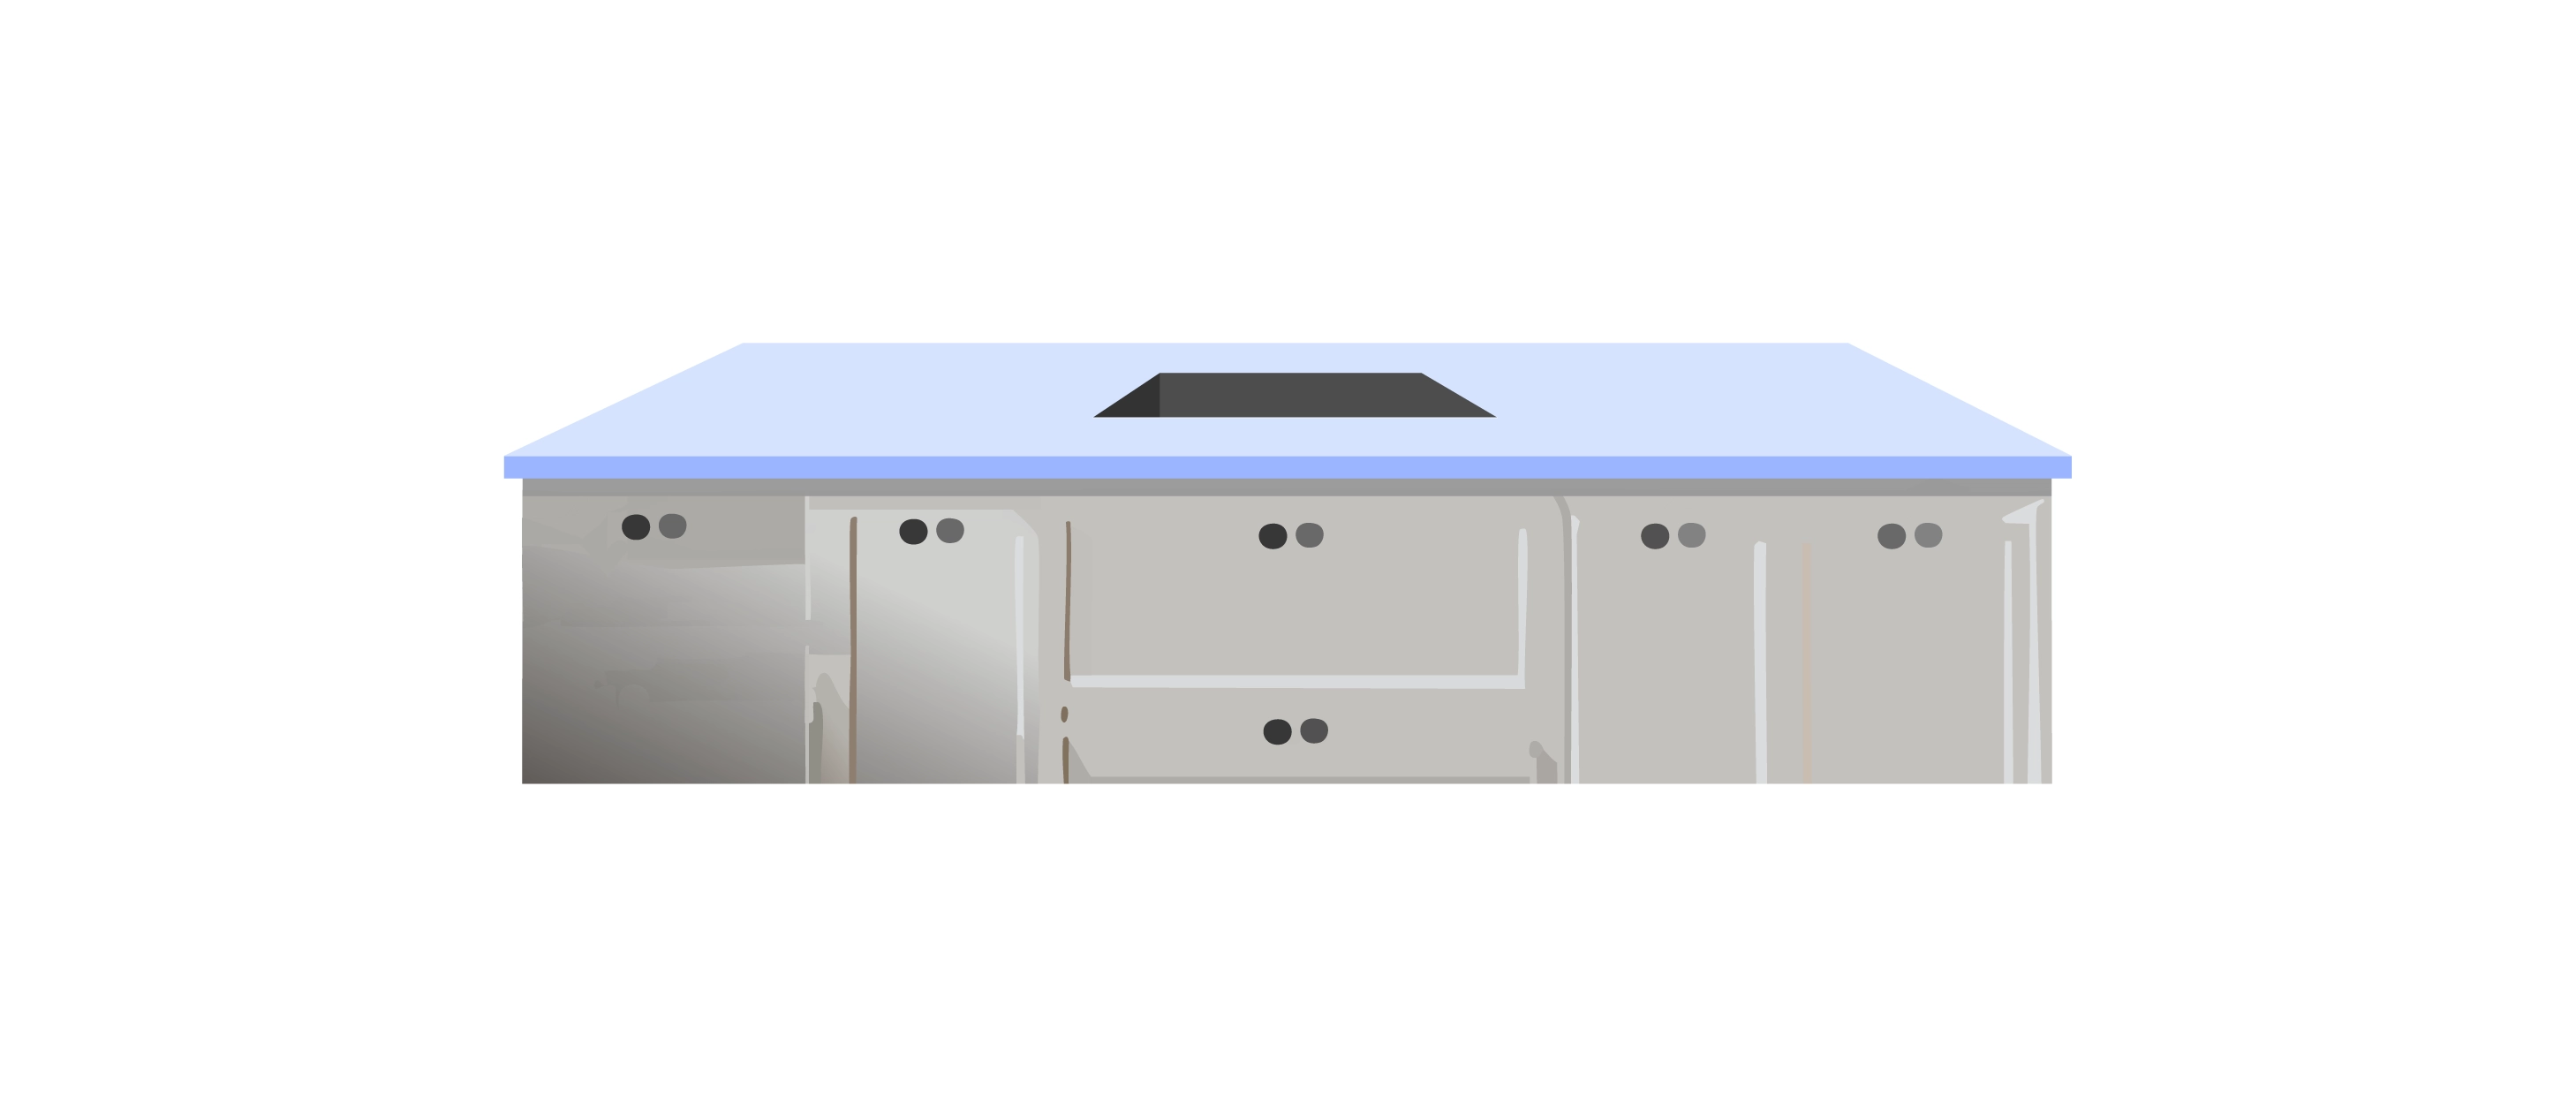
Secure Countertop on Cabinets
Share iconPlace the countertop on the cabinet frame, ensuring a proper fit.
Secure it in place with screws from underneath, being careful not to over-tighten and crack the laminate.
Use adhesive to attach it to the wall and countertop for a seamless look.

Allow some space for sealant between the countertop and backsplash for waterproofing.
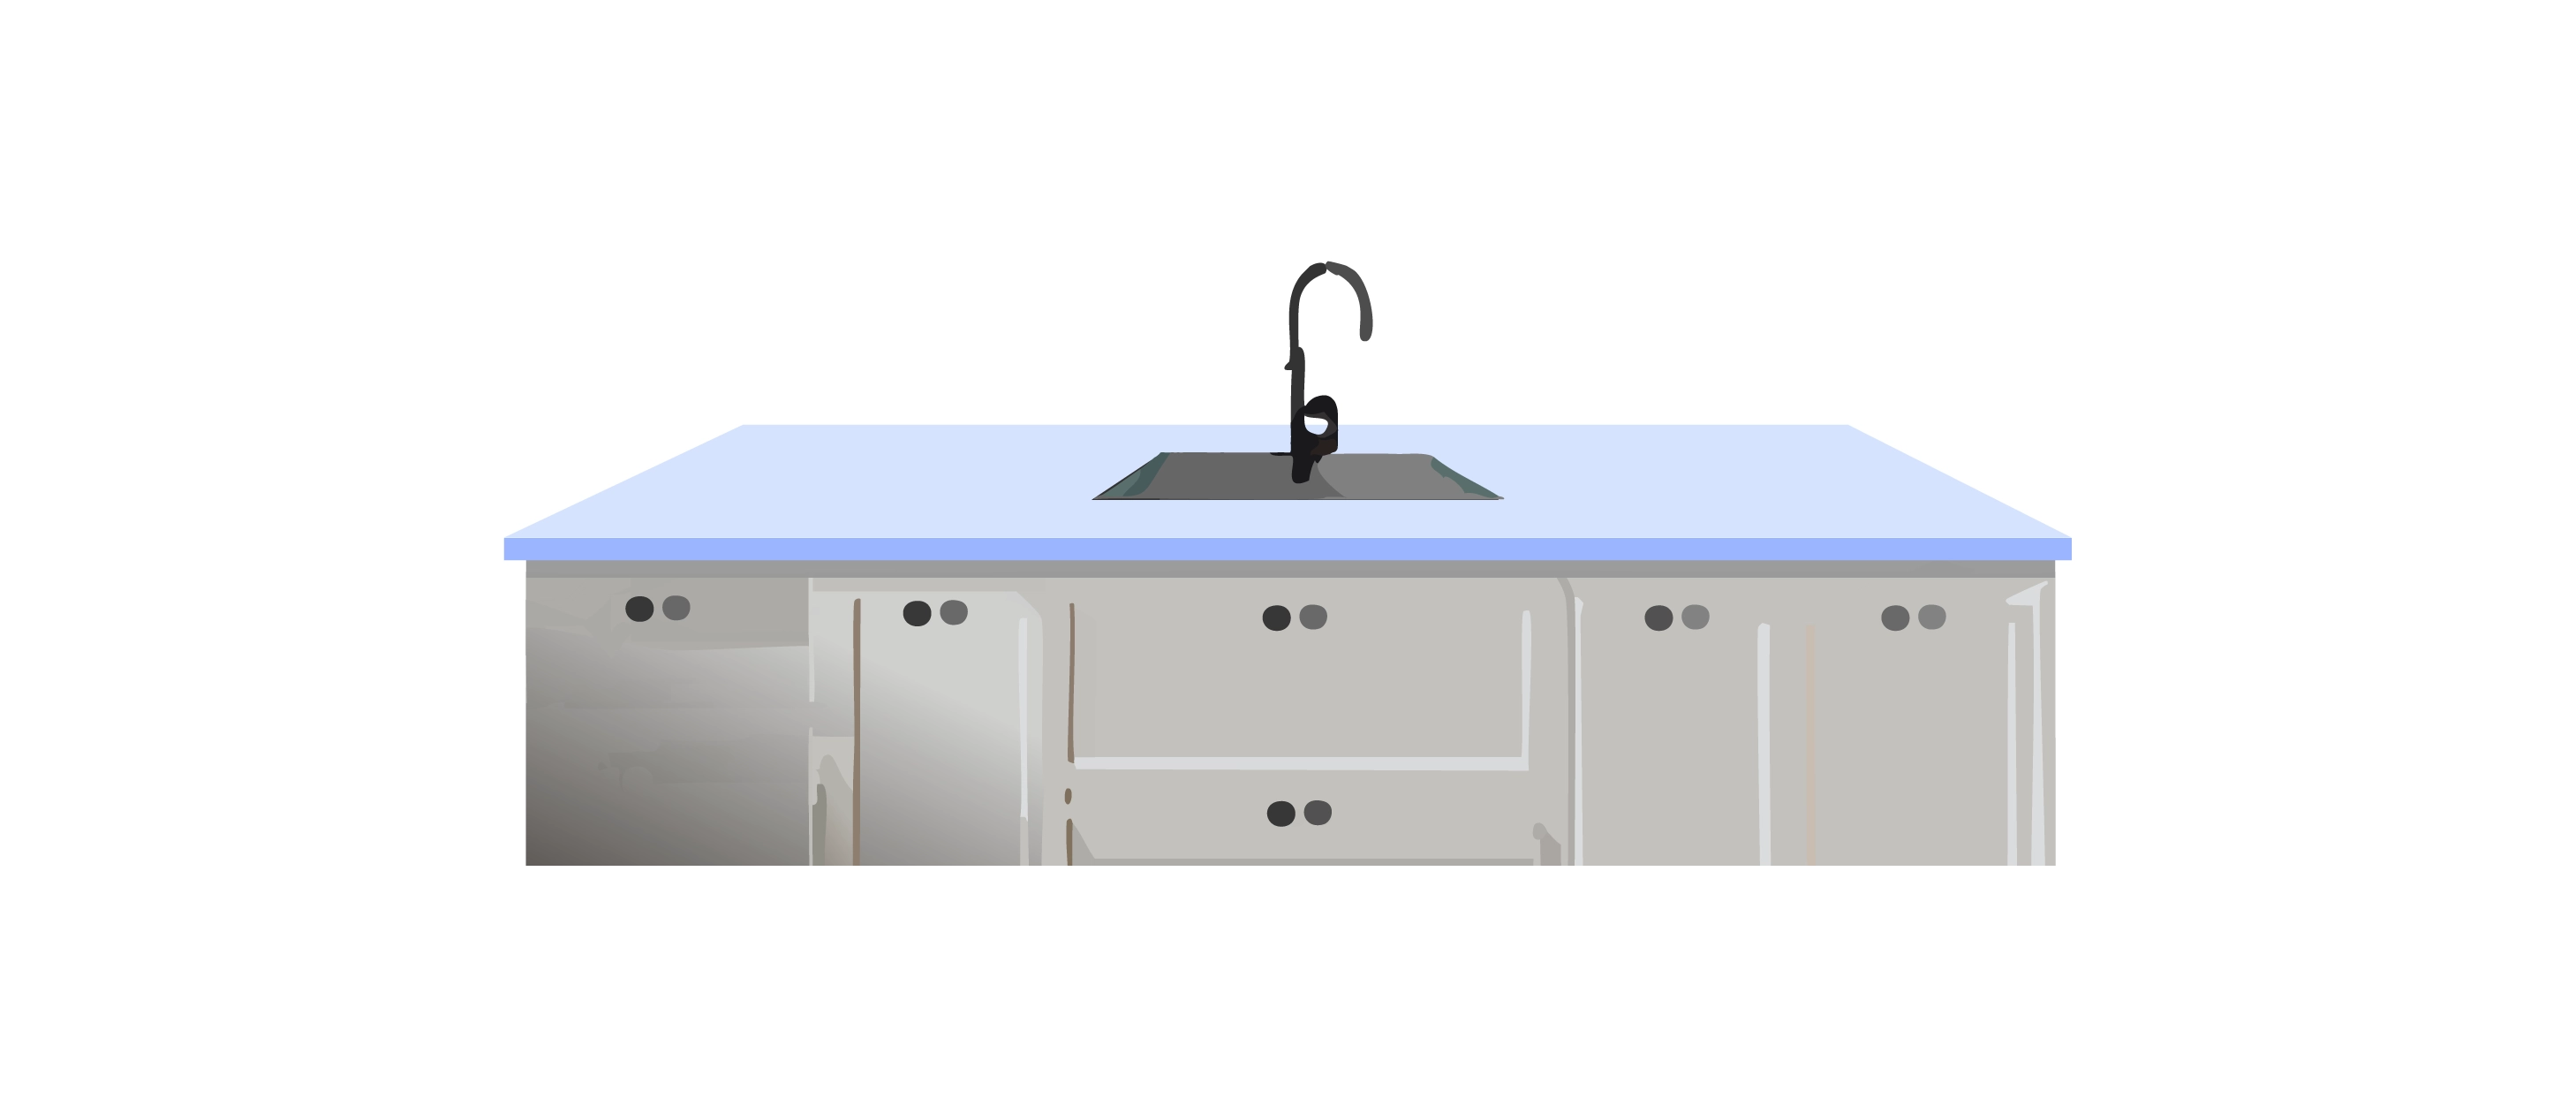
Reinstall Sink and Plumbing
Share iconReinstall the sink and any plumbing fixtures.
This step completes the functional aspect of your new countertop.

Check for leaks after reinstalling the plumbing.
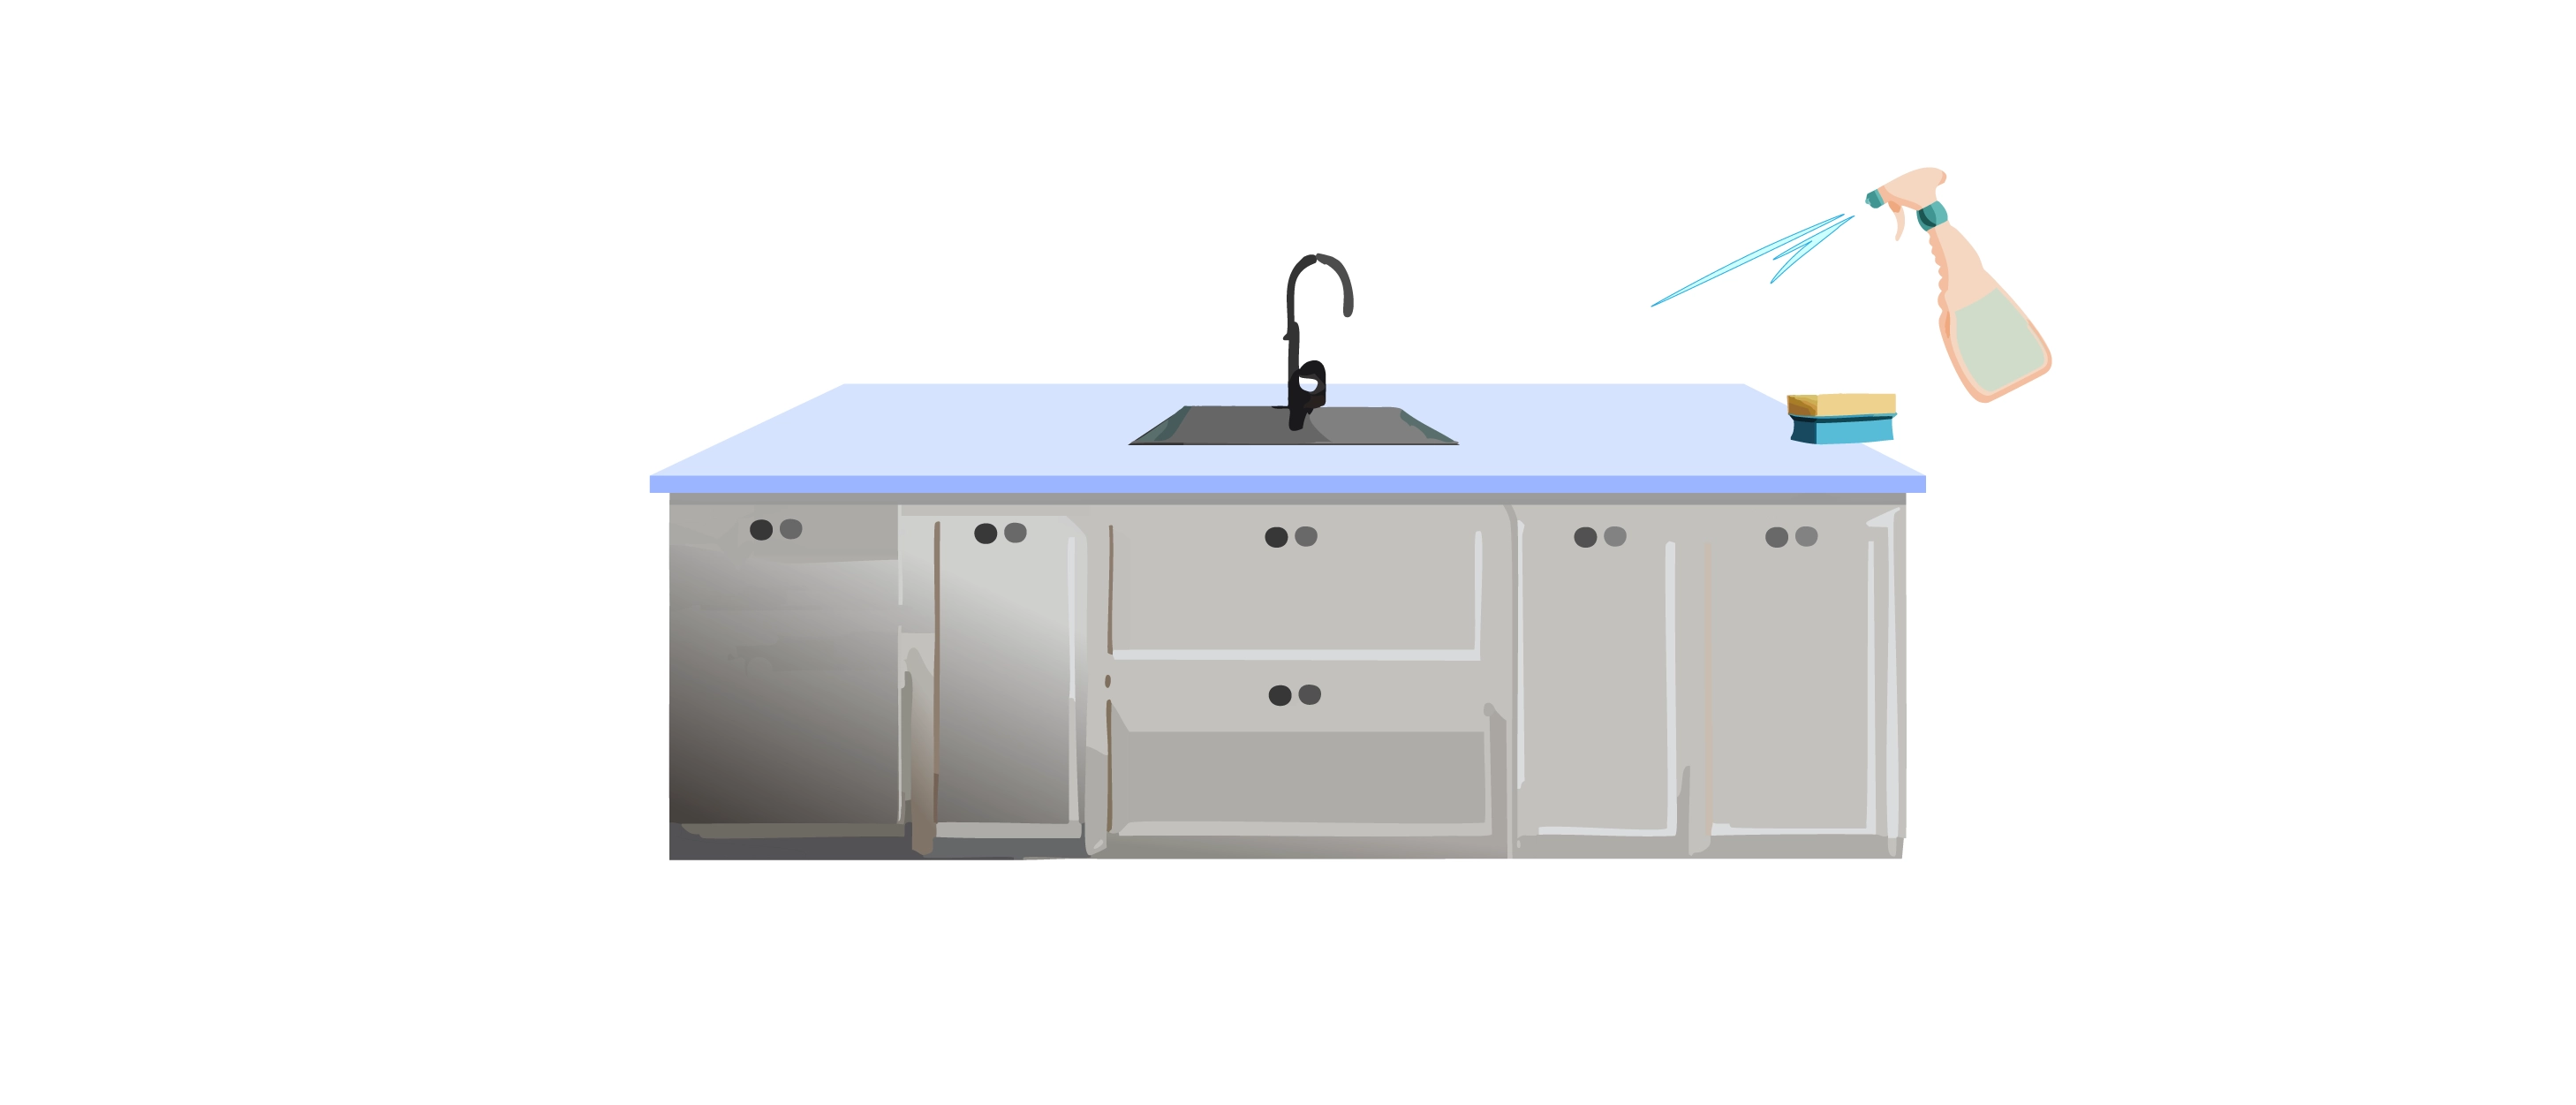
Cleanup and Maintenance
Share iconClean up your workspace and enjoy your new laminate countertops!
Regular cleaning with mild soap and water will keep them looking great.

Remember, dont rush the processtaking your time during each step will yield the best results!
Clean the Countertop
Share iconStart by thoroughly cleaning the laminate surface.
Remove any stains, grease, and debris.

Ensure the countertop is completely dry before proceeding to the next step.
Sand the Surface
Share iconUse fine-grit sandpaper to lightly sand the entire surface of the countertop.
This step is crucial as it helps the new paint or laminate adhesive to adhere better.

Wipe away all the sanding dust.
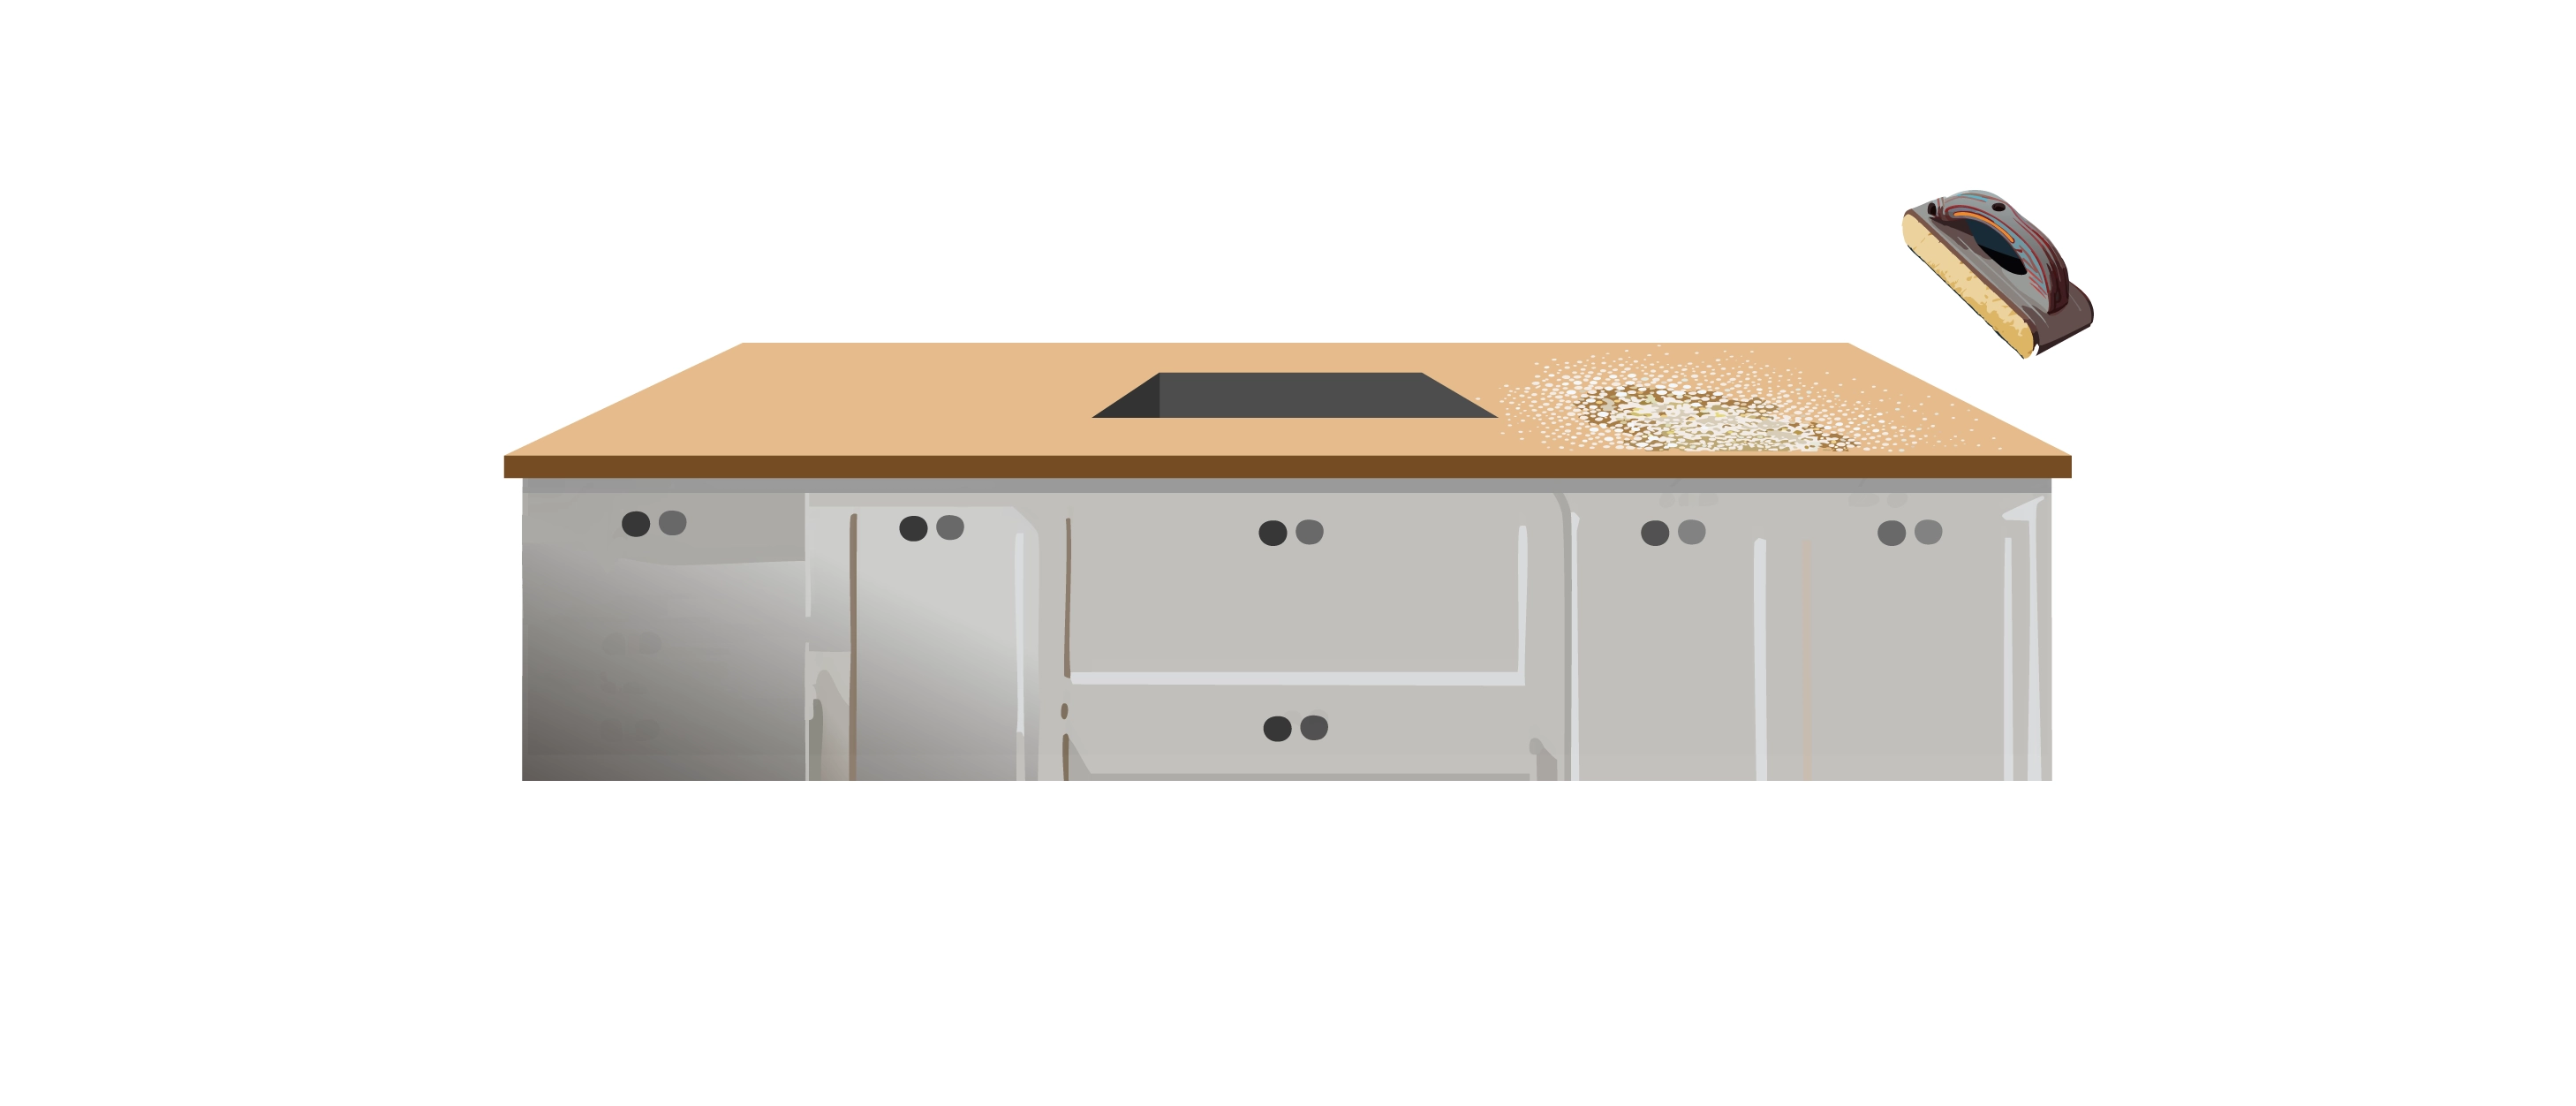
Repair Any Damage
Share iconInspect the countertop for chips or cracks.
Use a laminate repair paste or filler to fix these flaws.

Once the repairs are completely dry, sand them smoothly to level with the rest of the countertop surface.
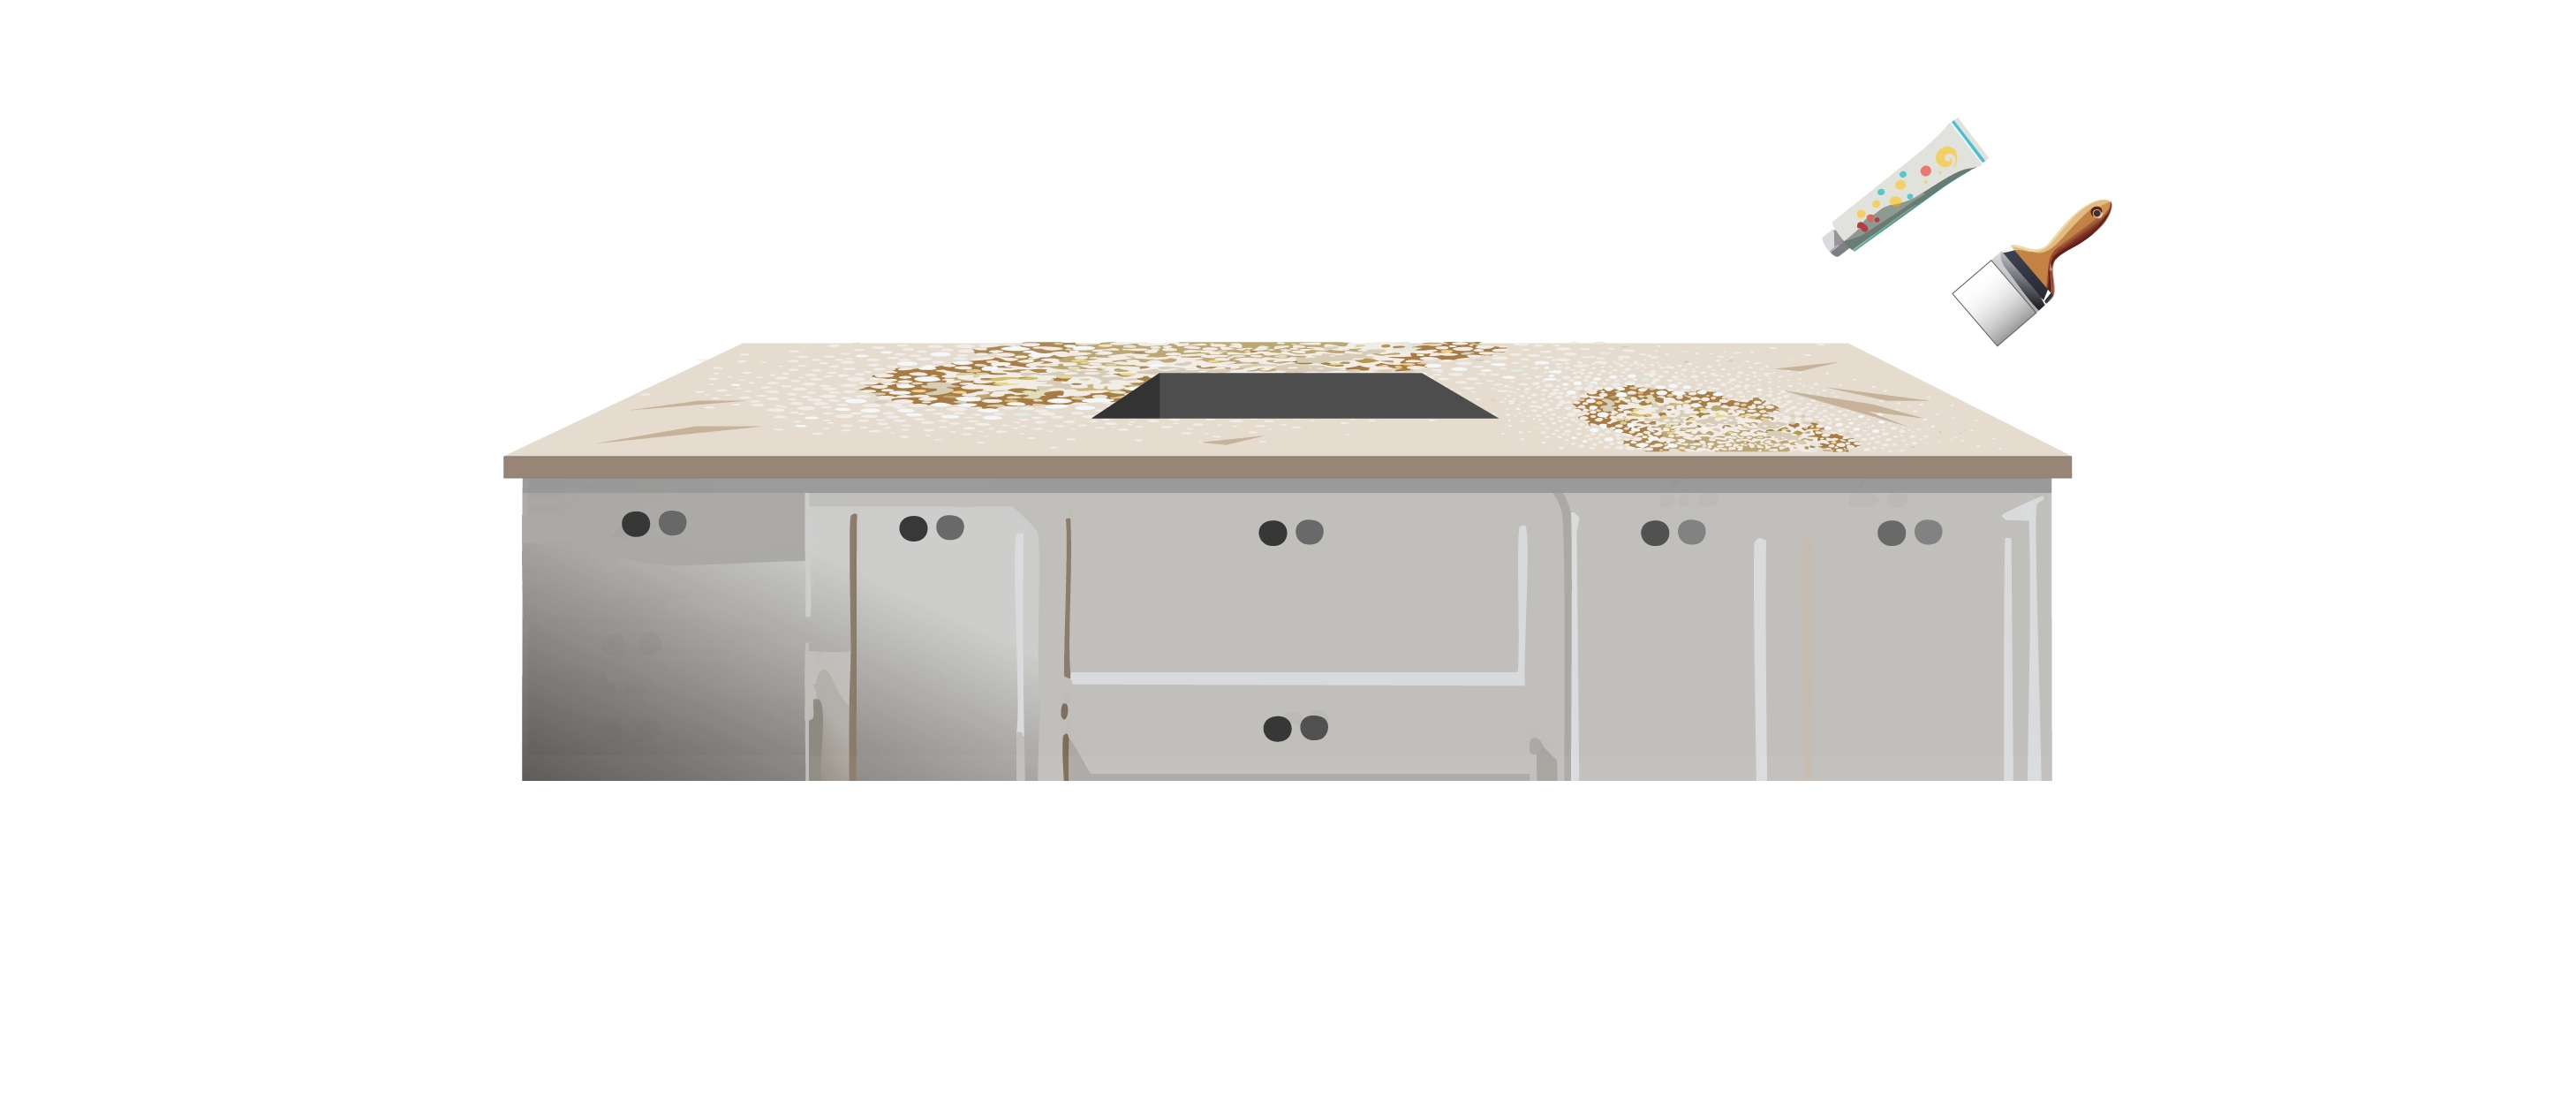
Apply a Primer
Share iconChoose a high-quality primer thats suitable for laminate surfaces.
Apply it evenly across the countertop.

This will help the new surface material to adhere properly.
Allow the primer to dry completely according to the manufacturers instructions.
Apply the New Surface
Share iconYou have a couple of options for resurfacing:
Step 6.

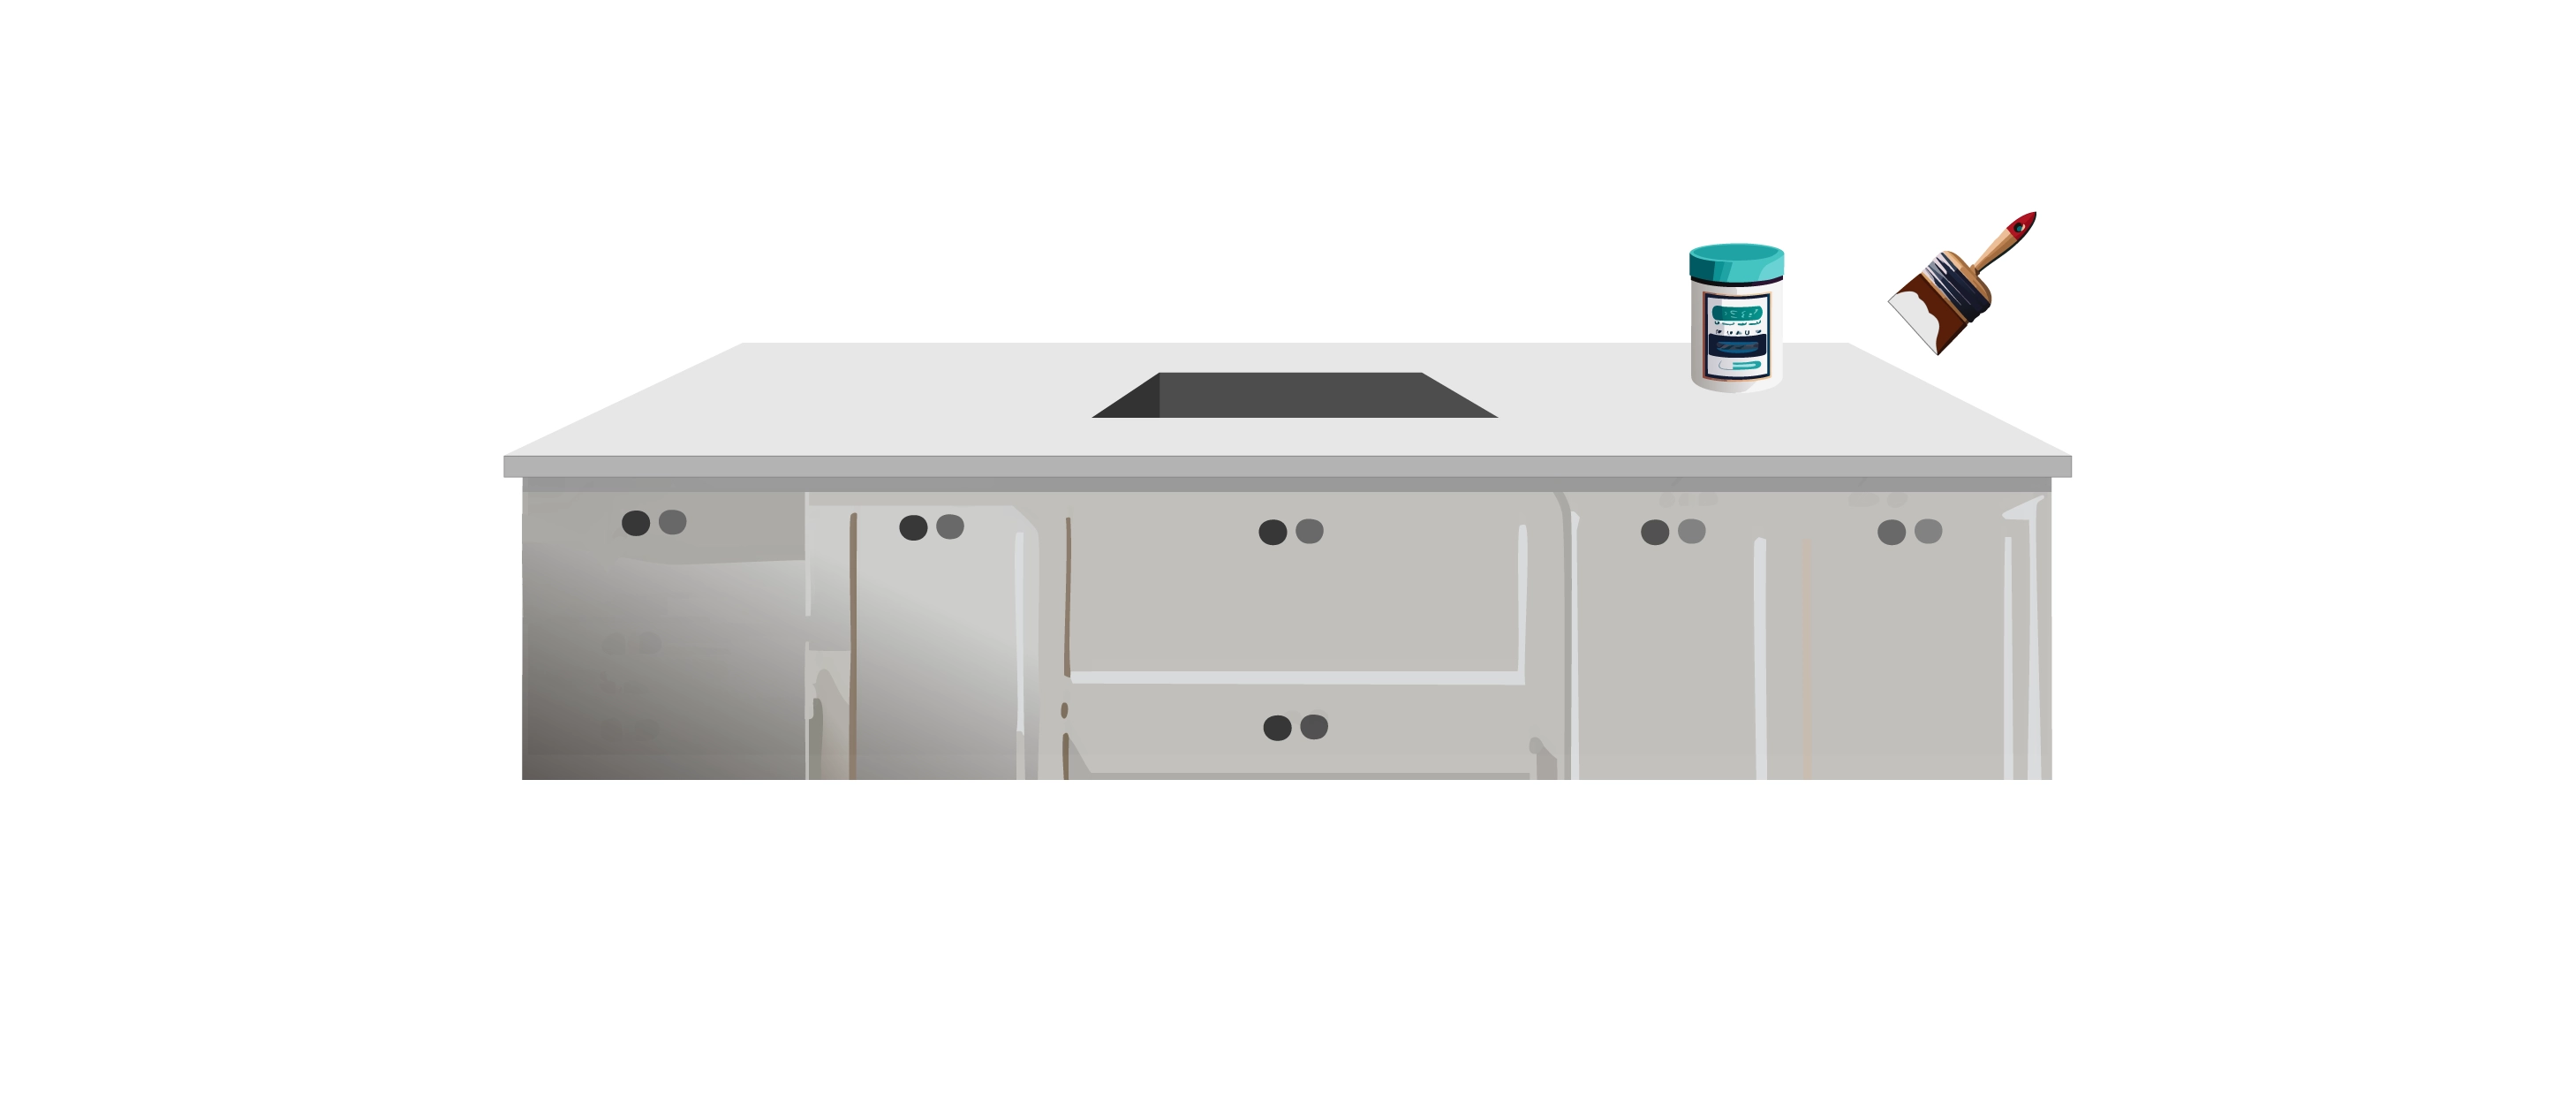
Seal the Surface
Share iconOnce your new surface is dry, apply a sealant.
This will protect your newly resurfaced countertops from stains and wear.
Use a sealant that is appropriate for the jot down of resurfacing you have done.
Reinstall Fixtures
If you removed any fixtures, like a sink or a cooktop, reinstall them carefully.
verify to seal any edges to prevent water from seeping under the new surface.
Add Final Touches
Share iconInspect your work and do any touch-ups if necessary.
Once youre satisfied, clean up your workspace and enjoy the refreshed look of your countertops!
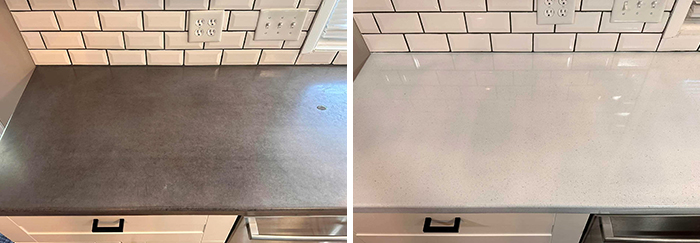
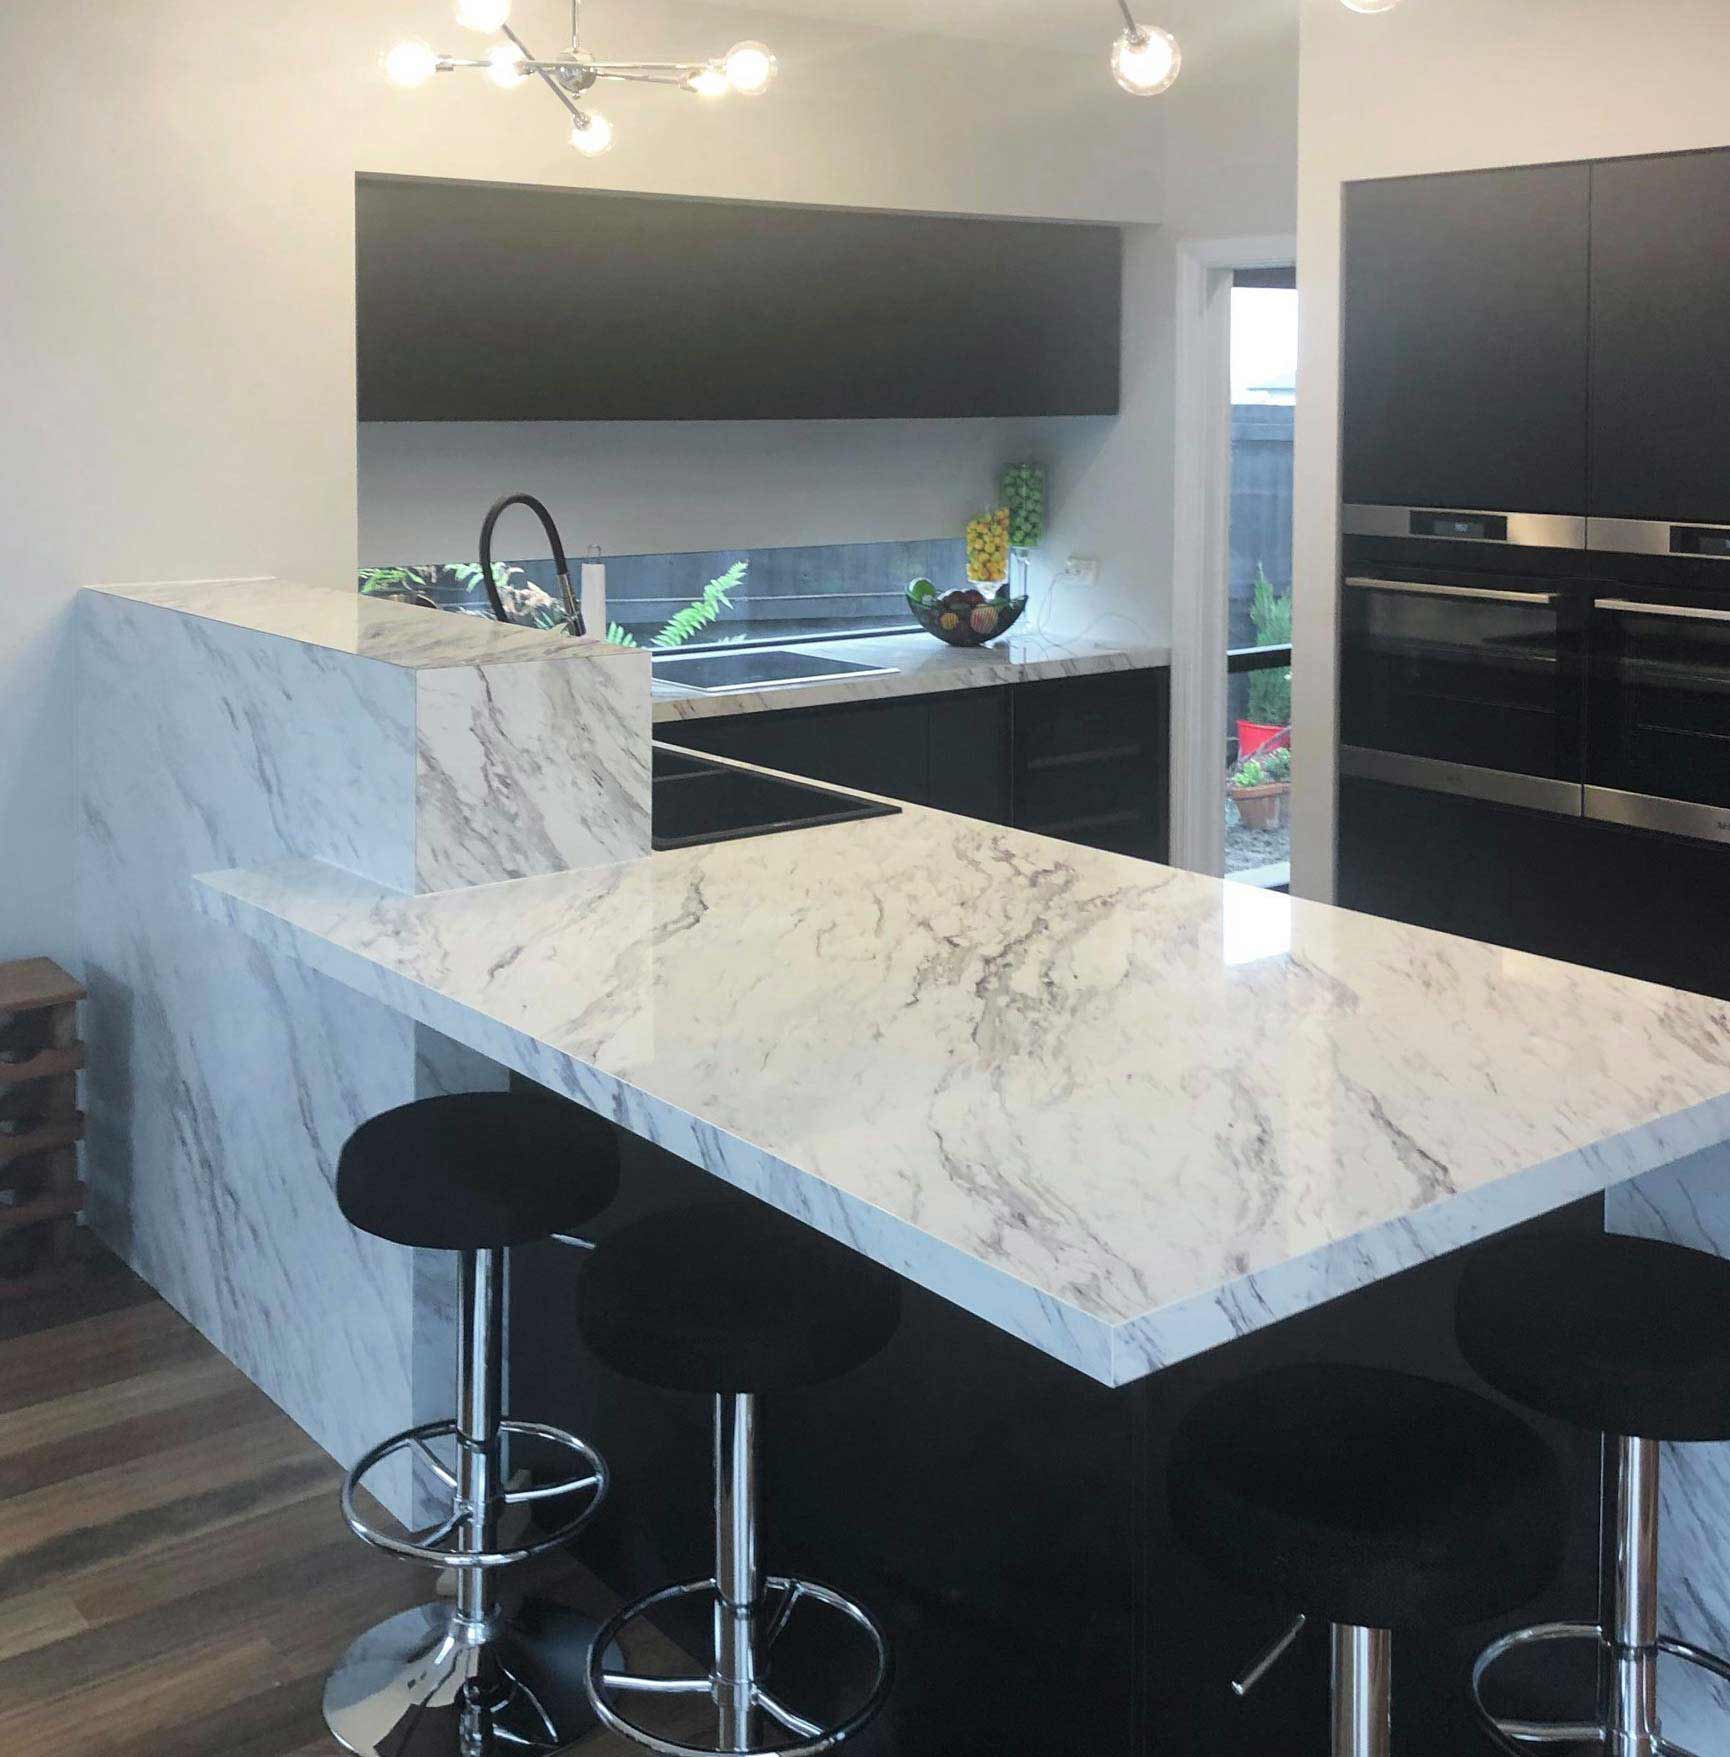
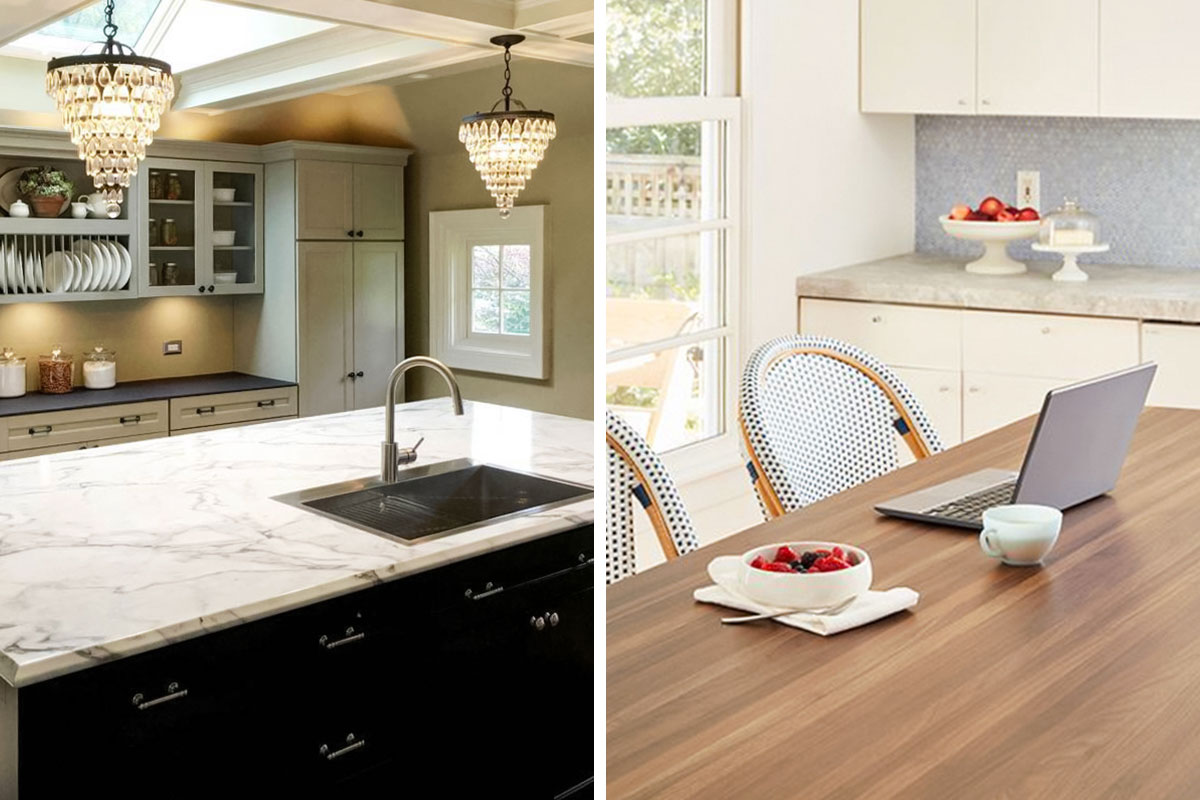
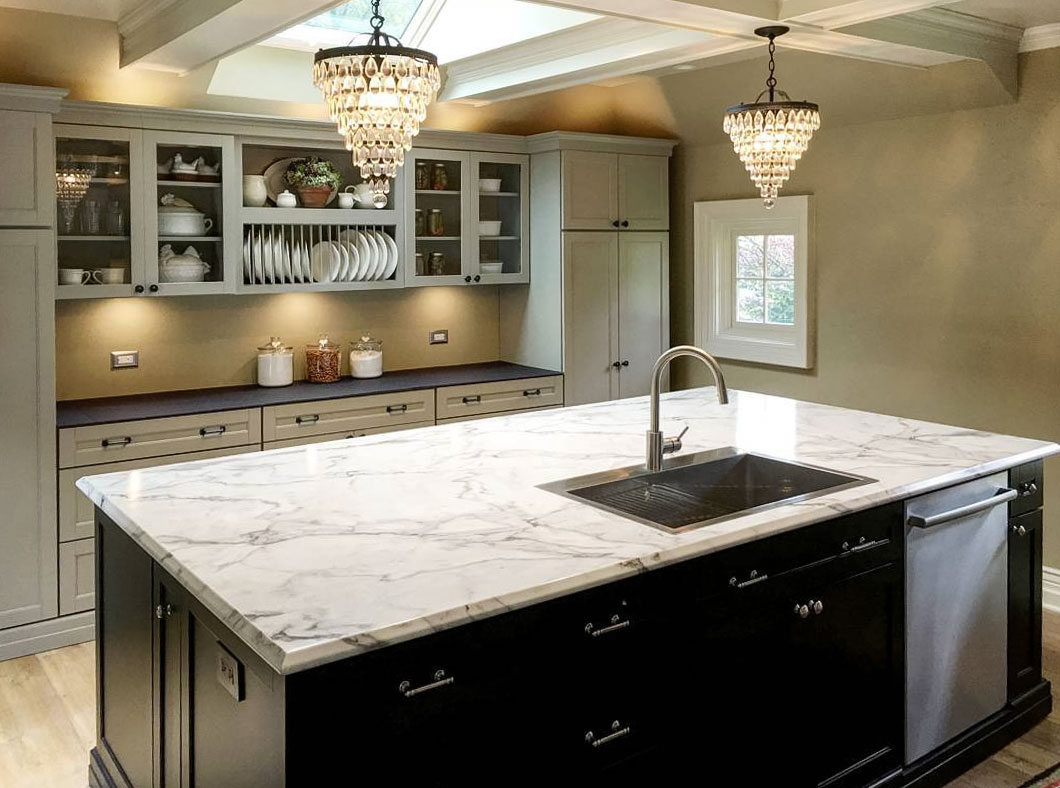
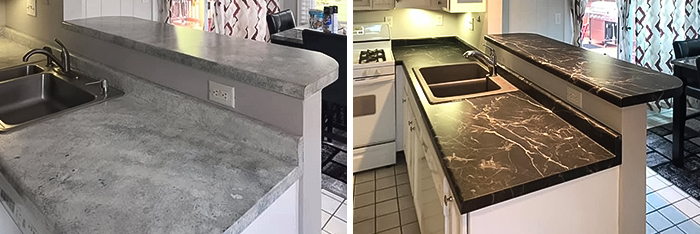
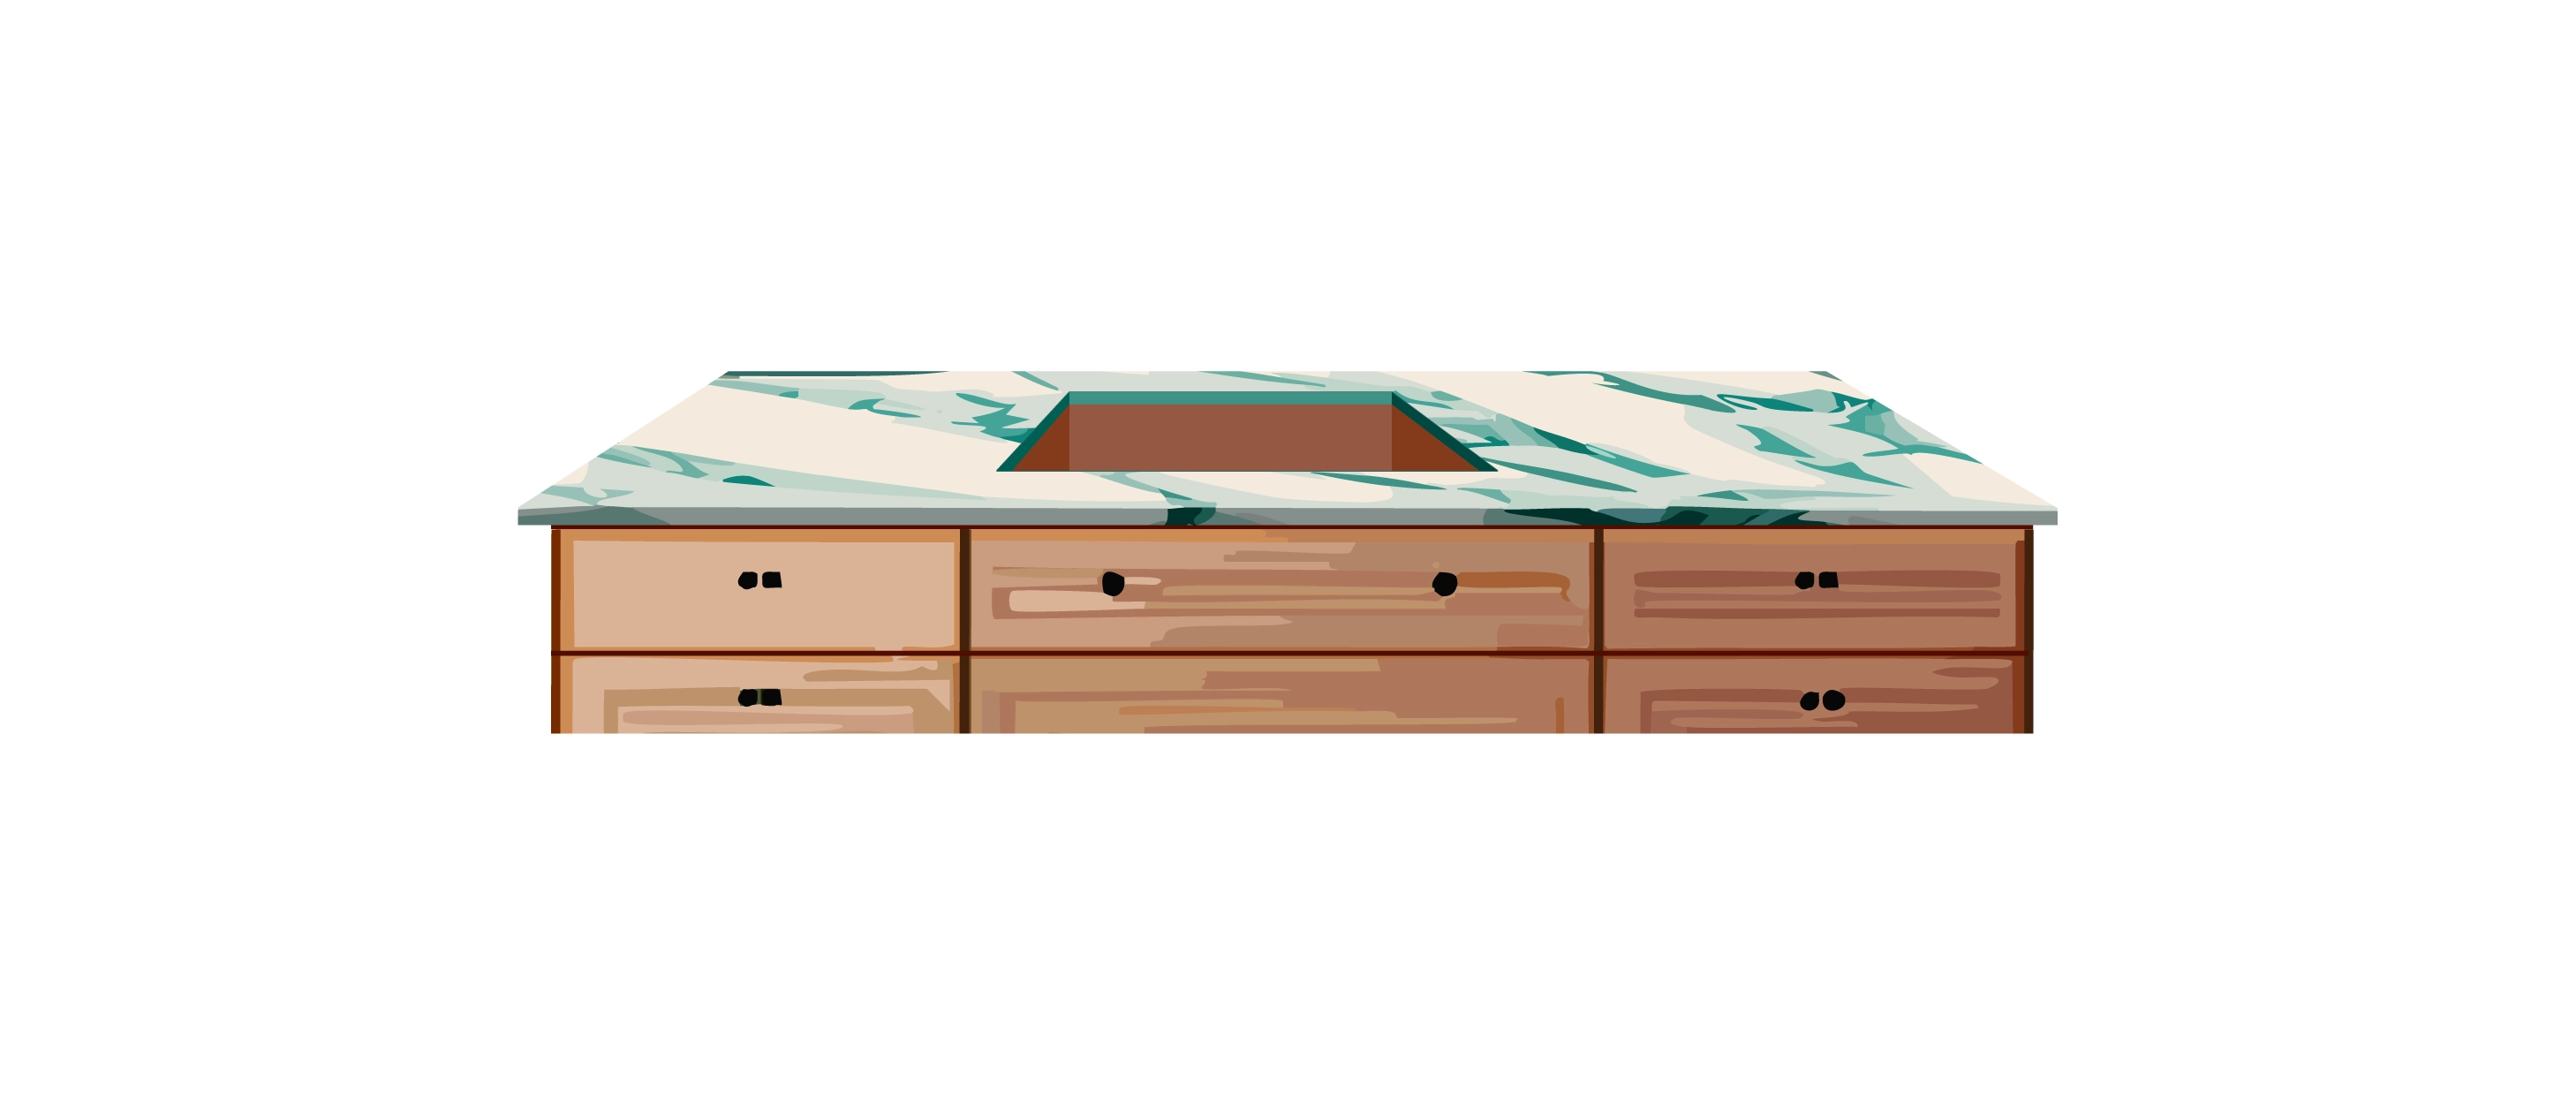
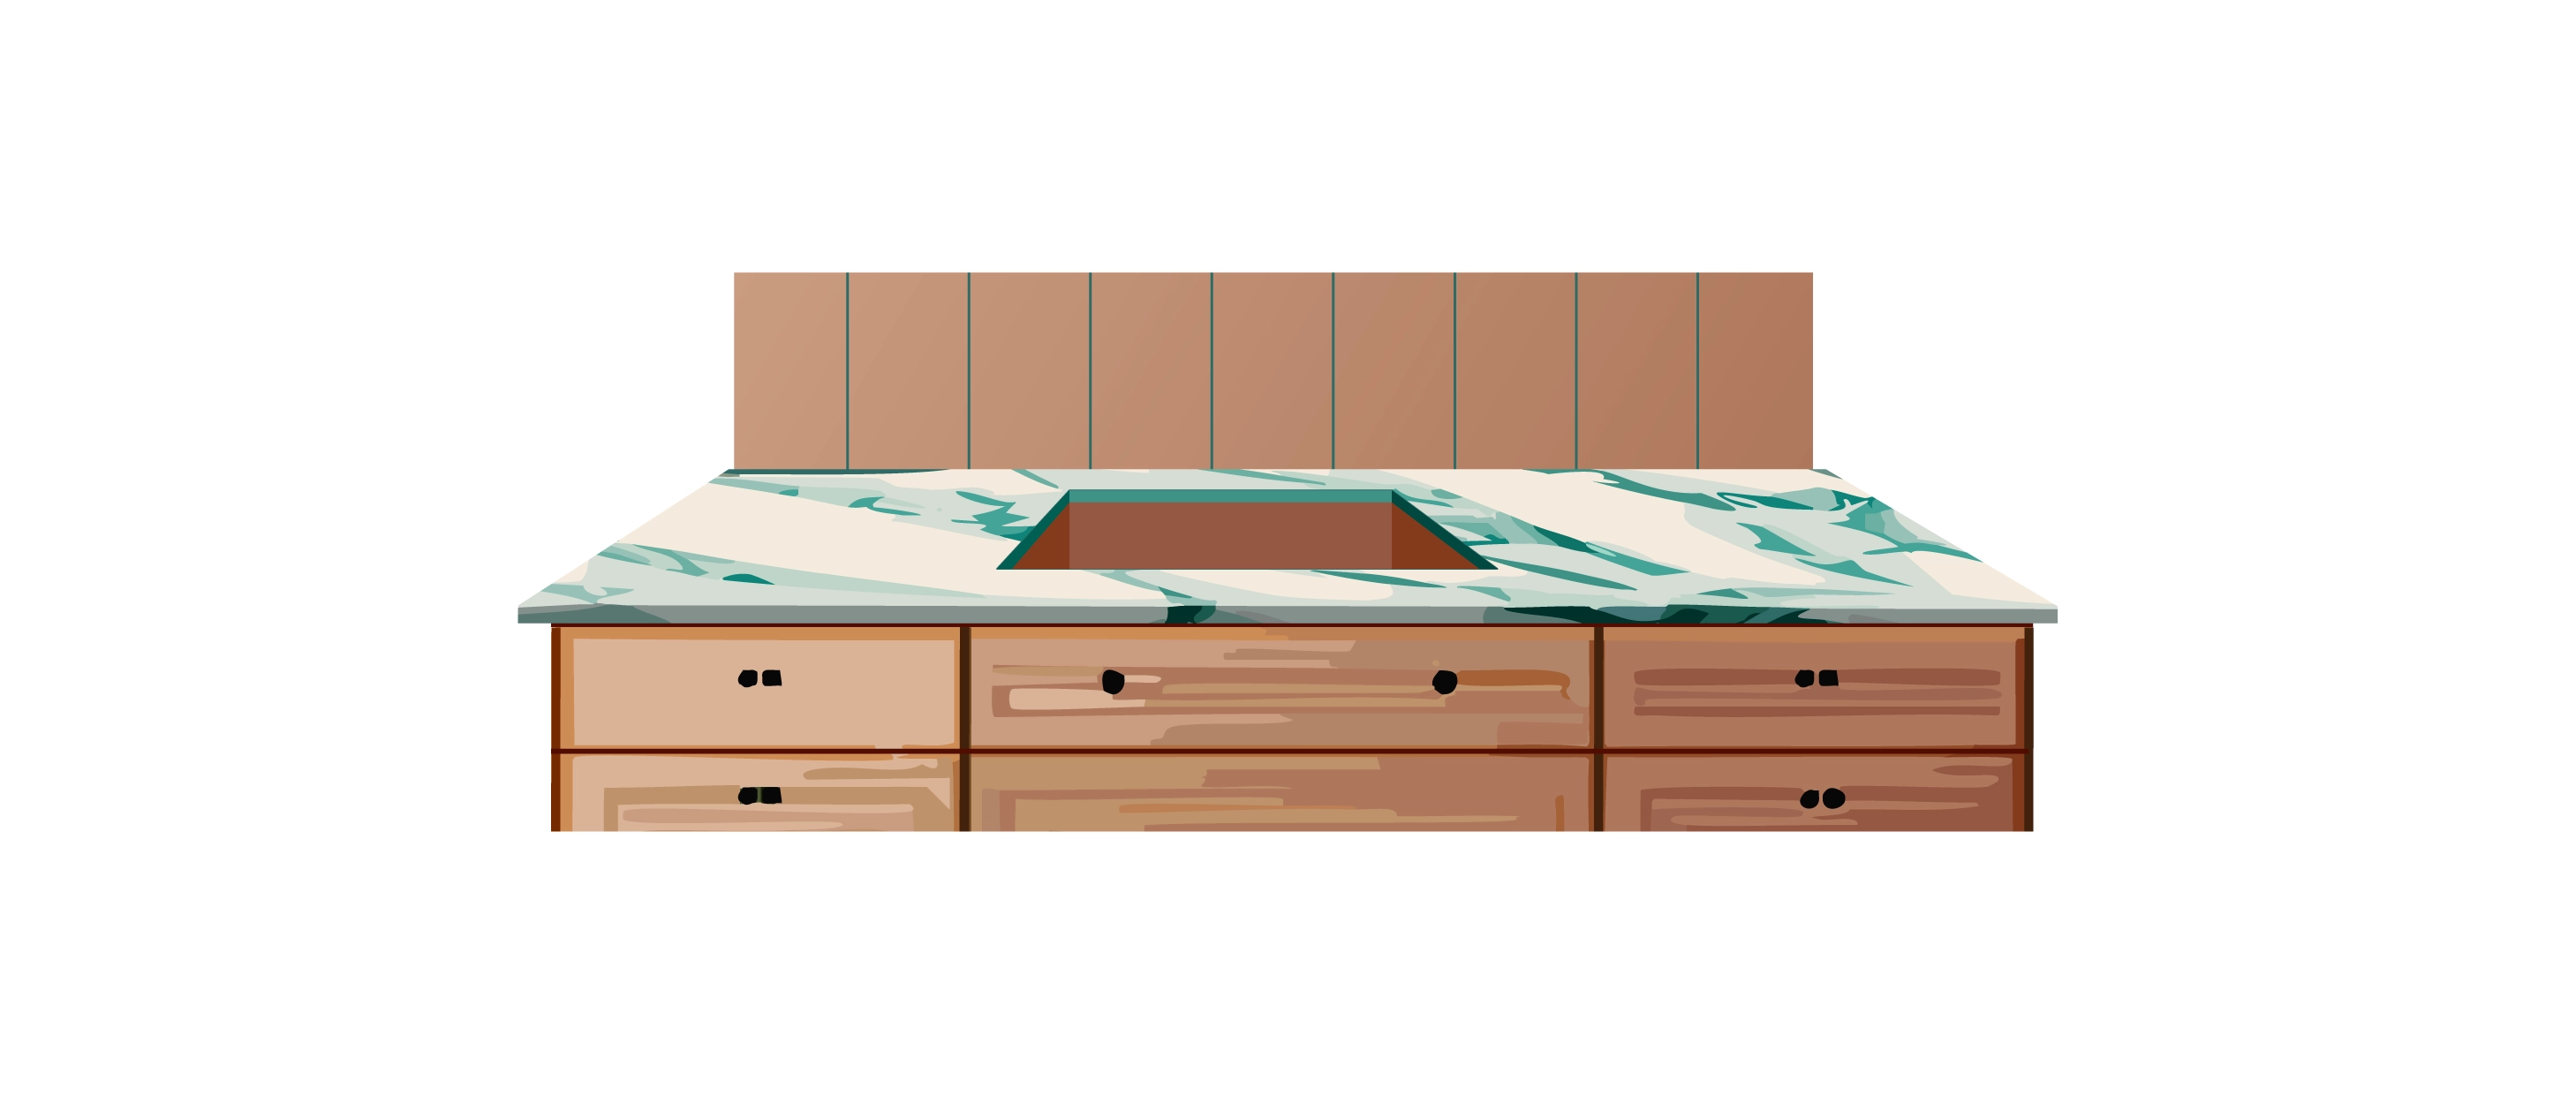
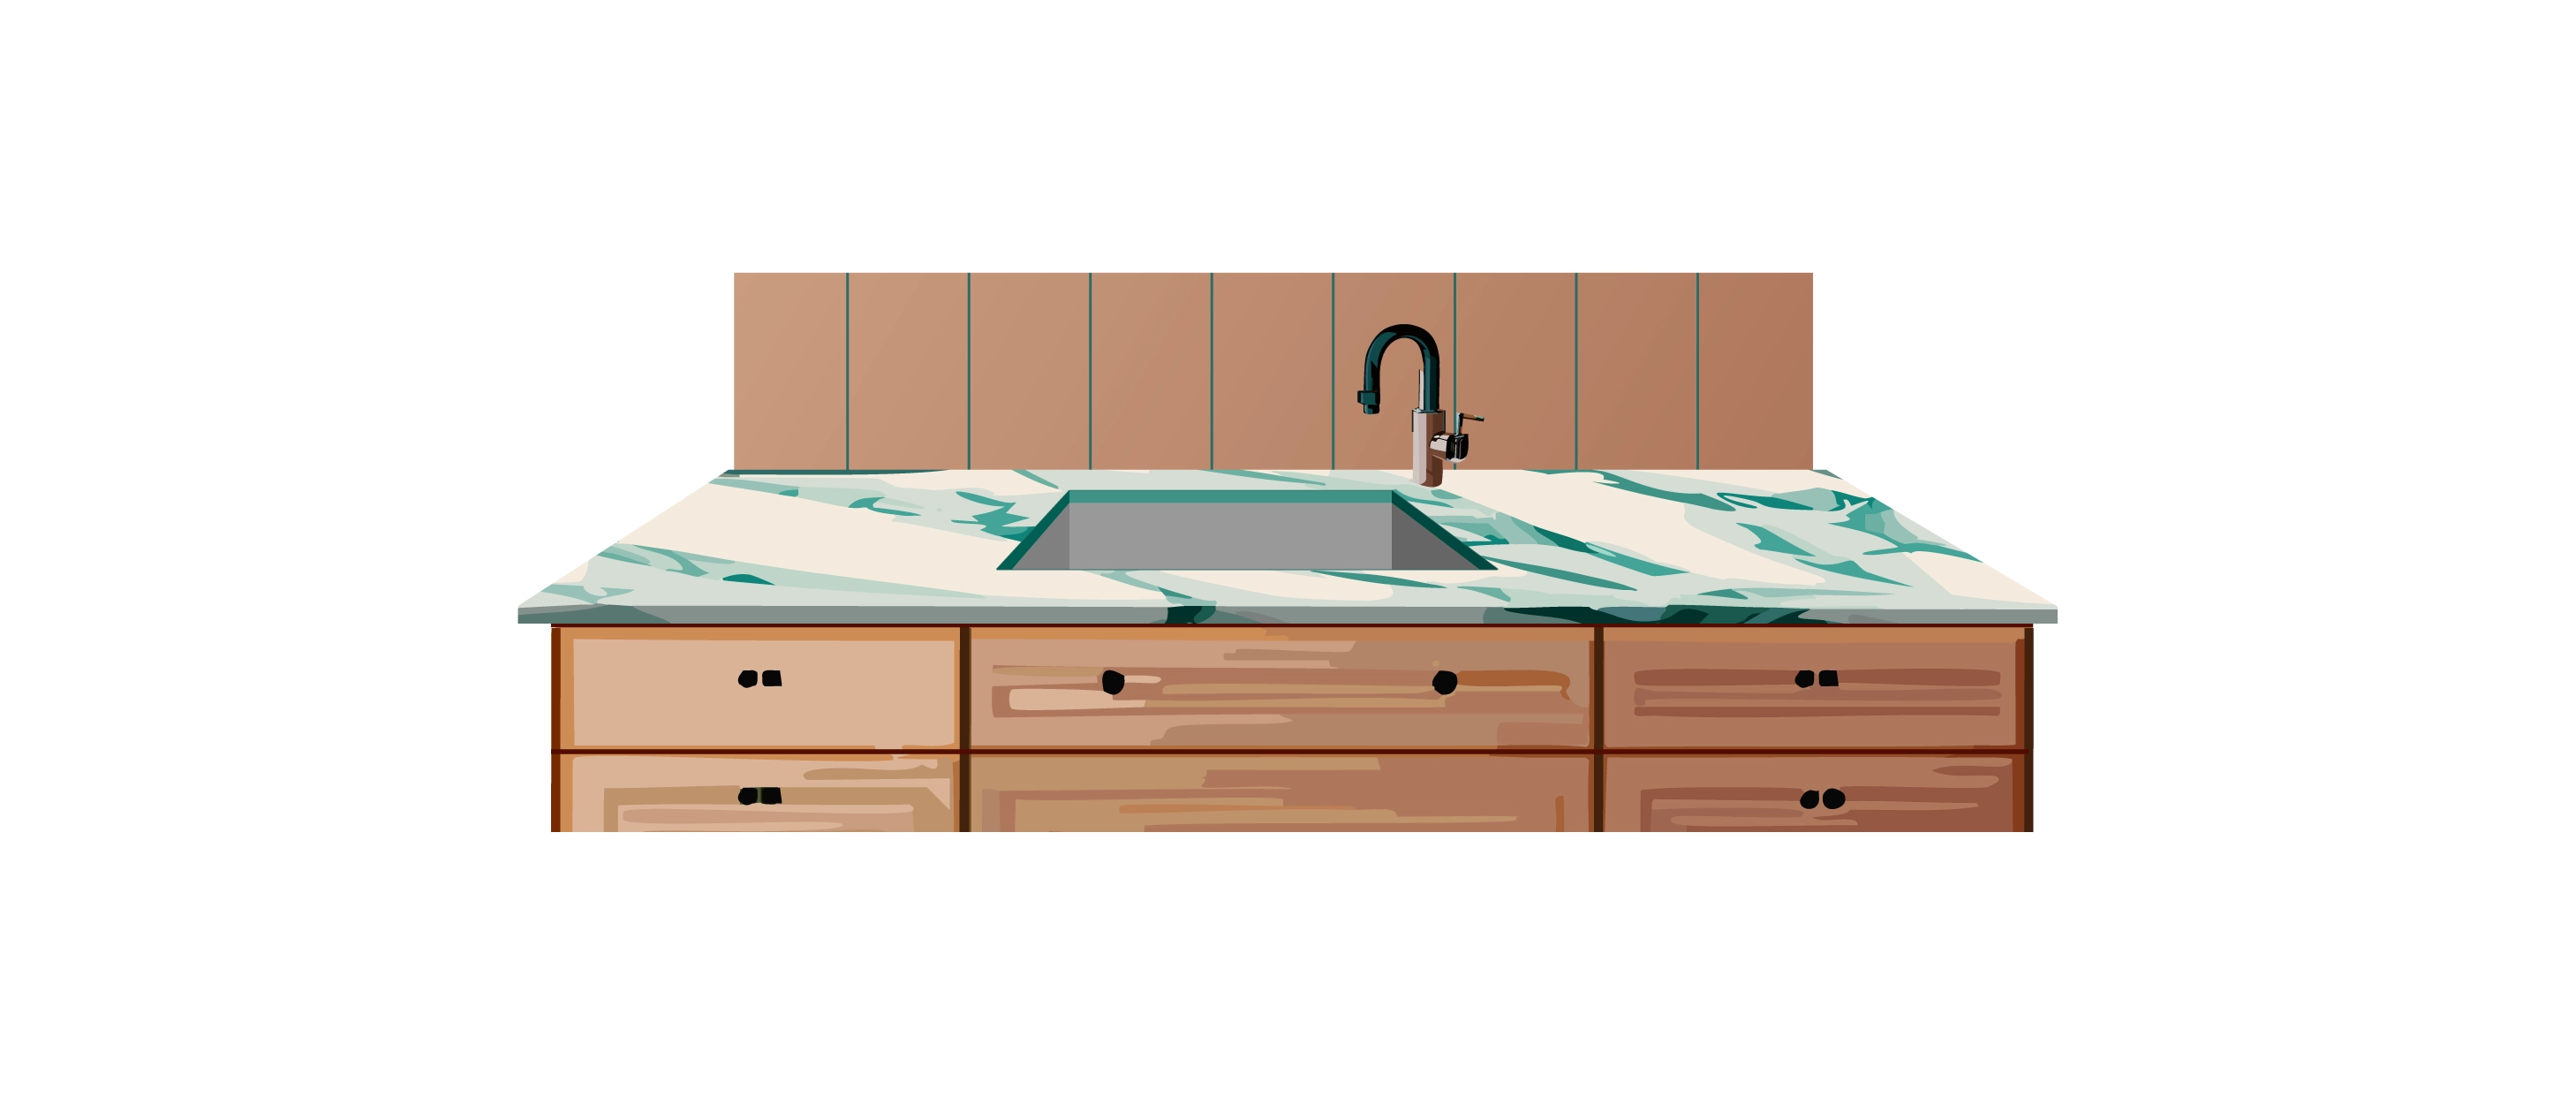
This kitchen features a Calcutta Marble laminate countertop that looks just like the real deal.
Heres to many happy moments in a kitchen thats both welcoming and wonderfully chic!
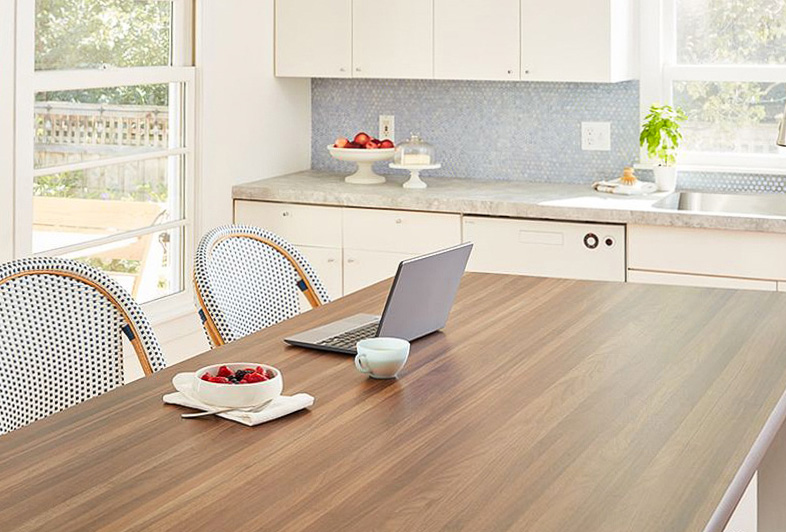
Its all the charm of classic butcherblock, minus the maintenance and the big spend.
So go on, make those memories in the heart of your home.
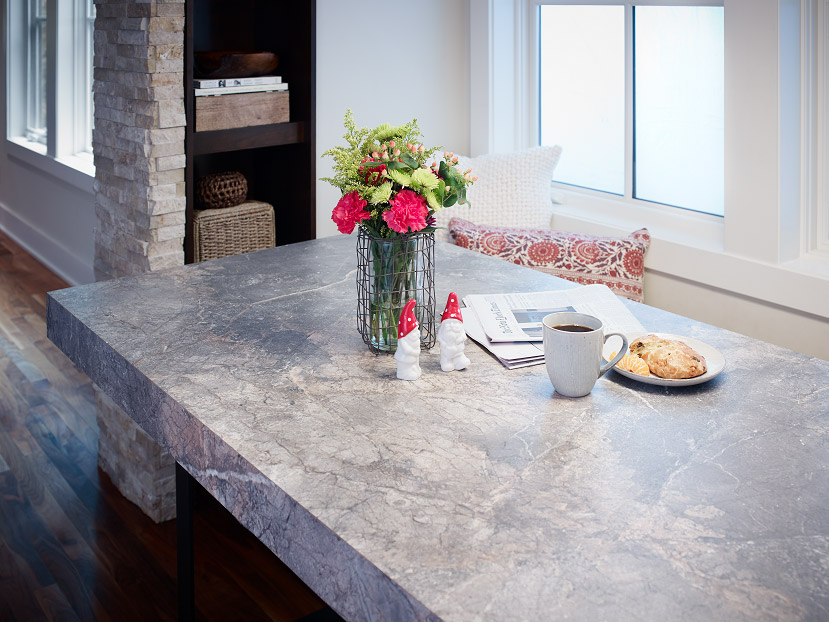
With a robust Karran quartz sink rounding out the new look, its a match made in design heaven!
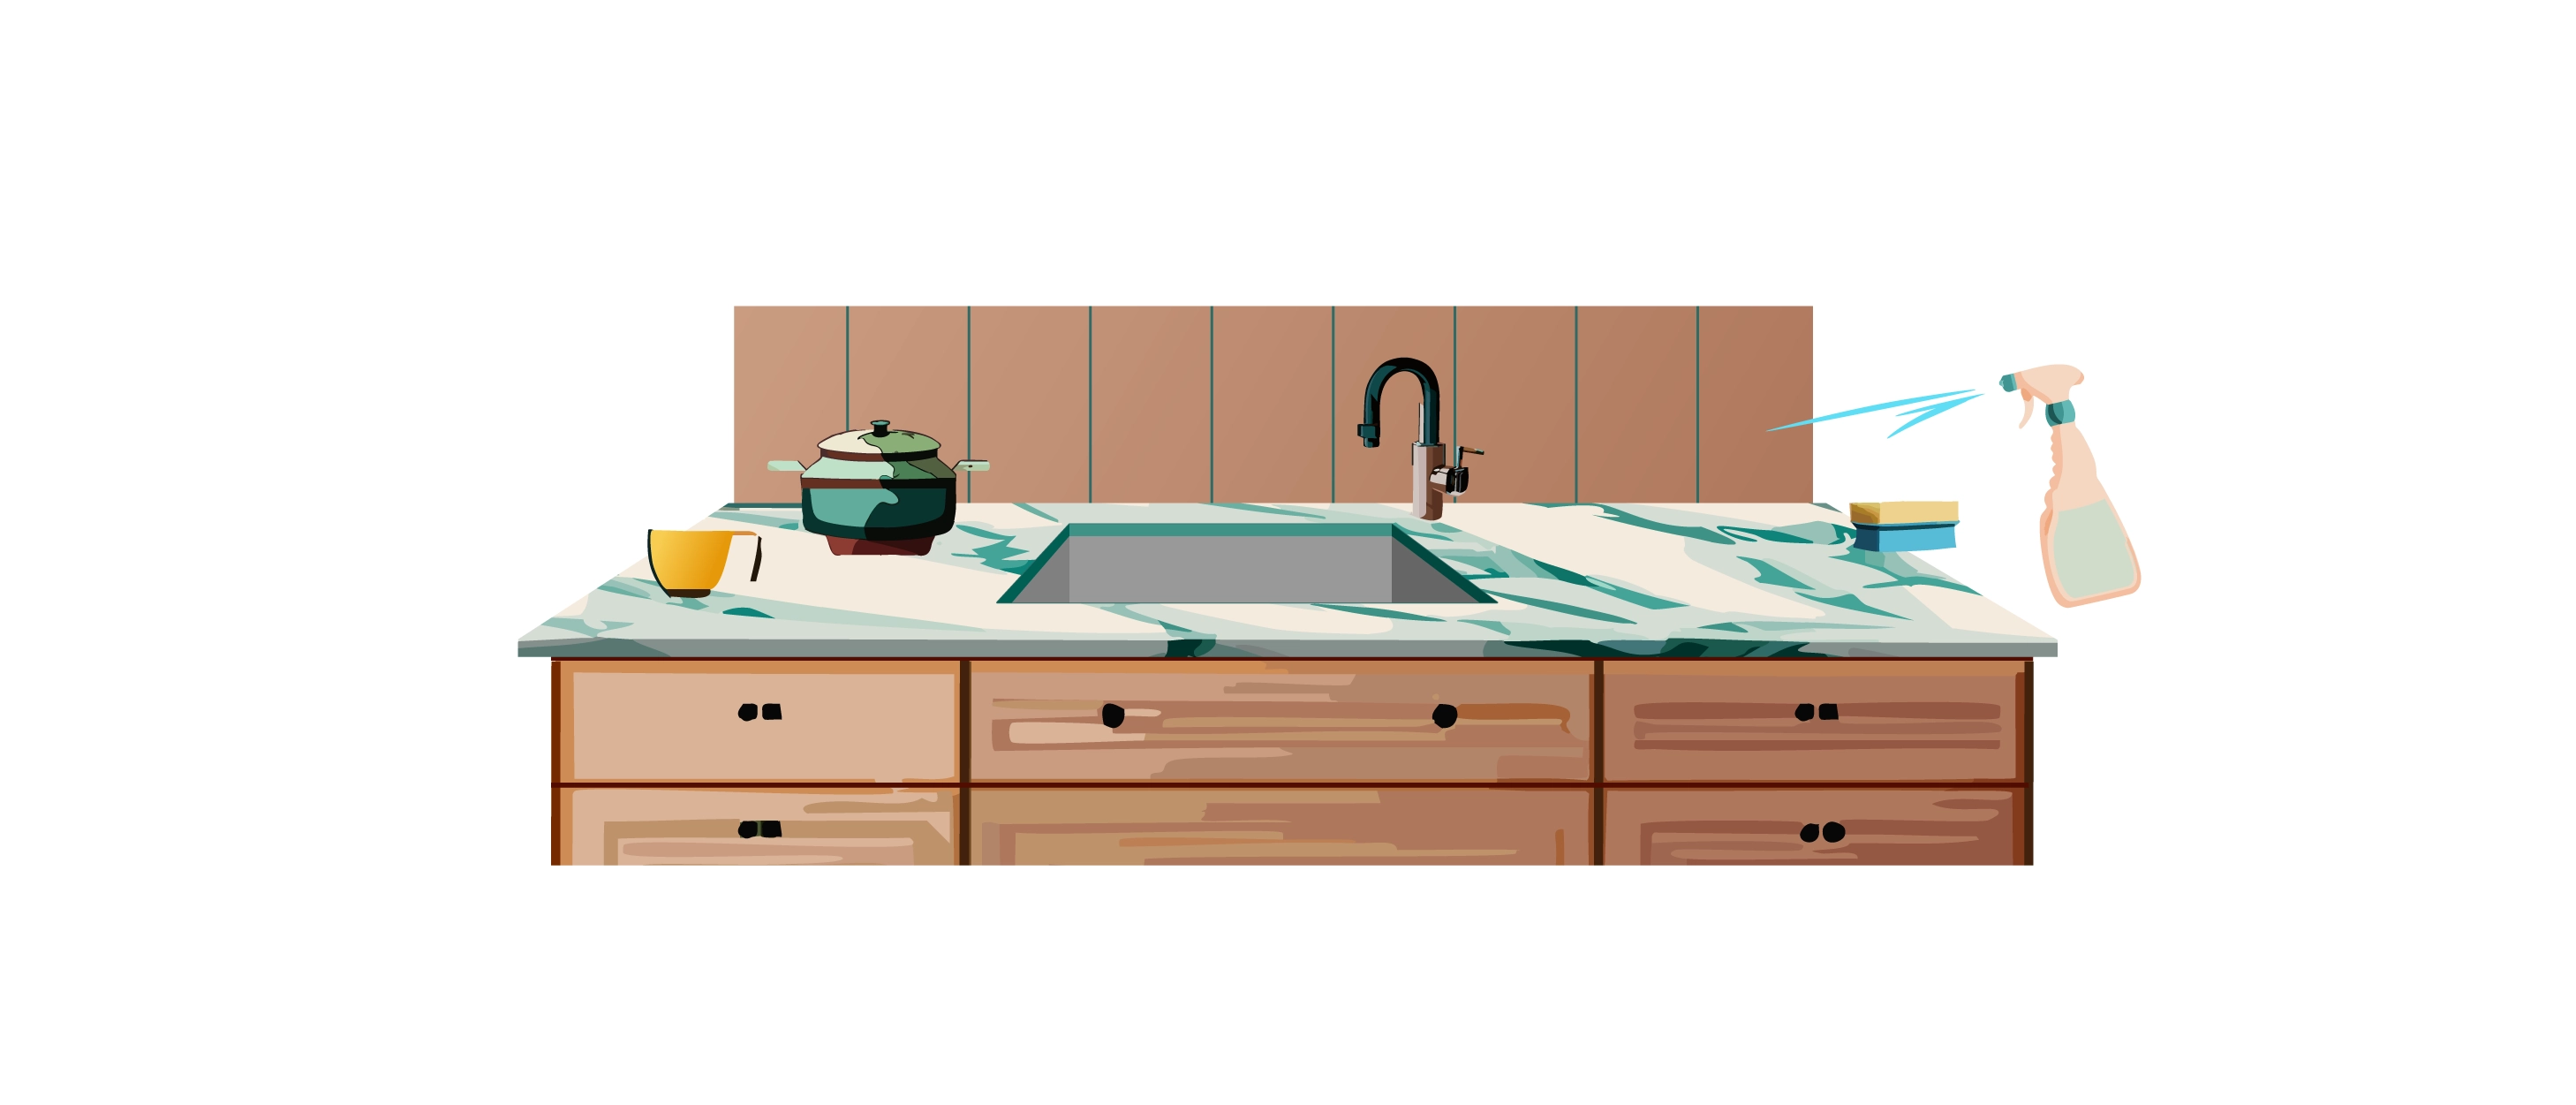
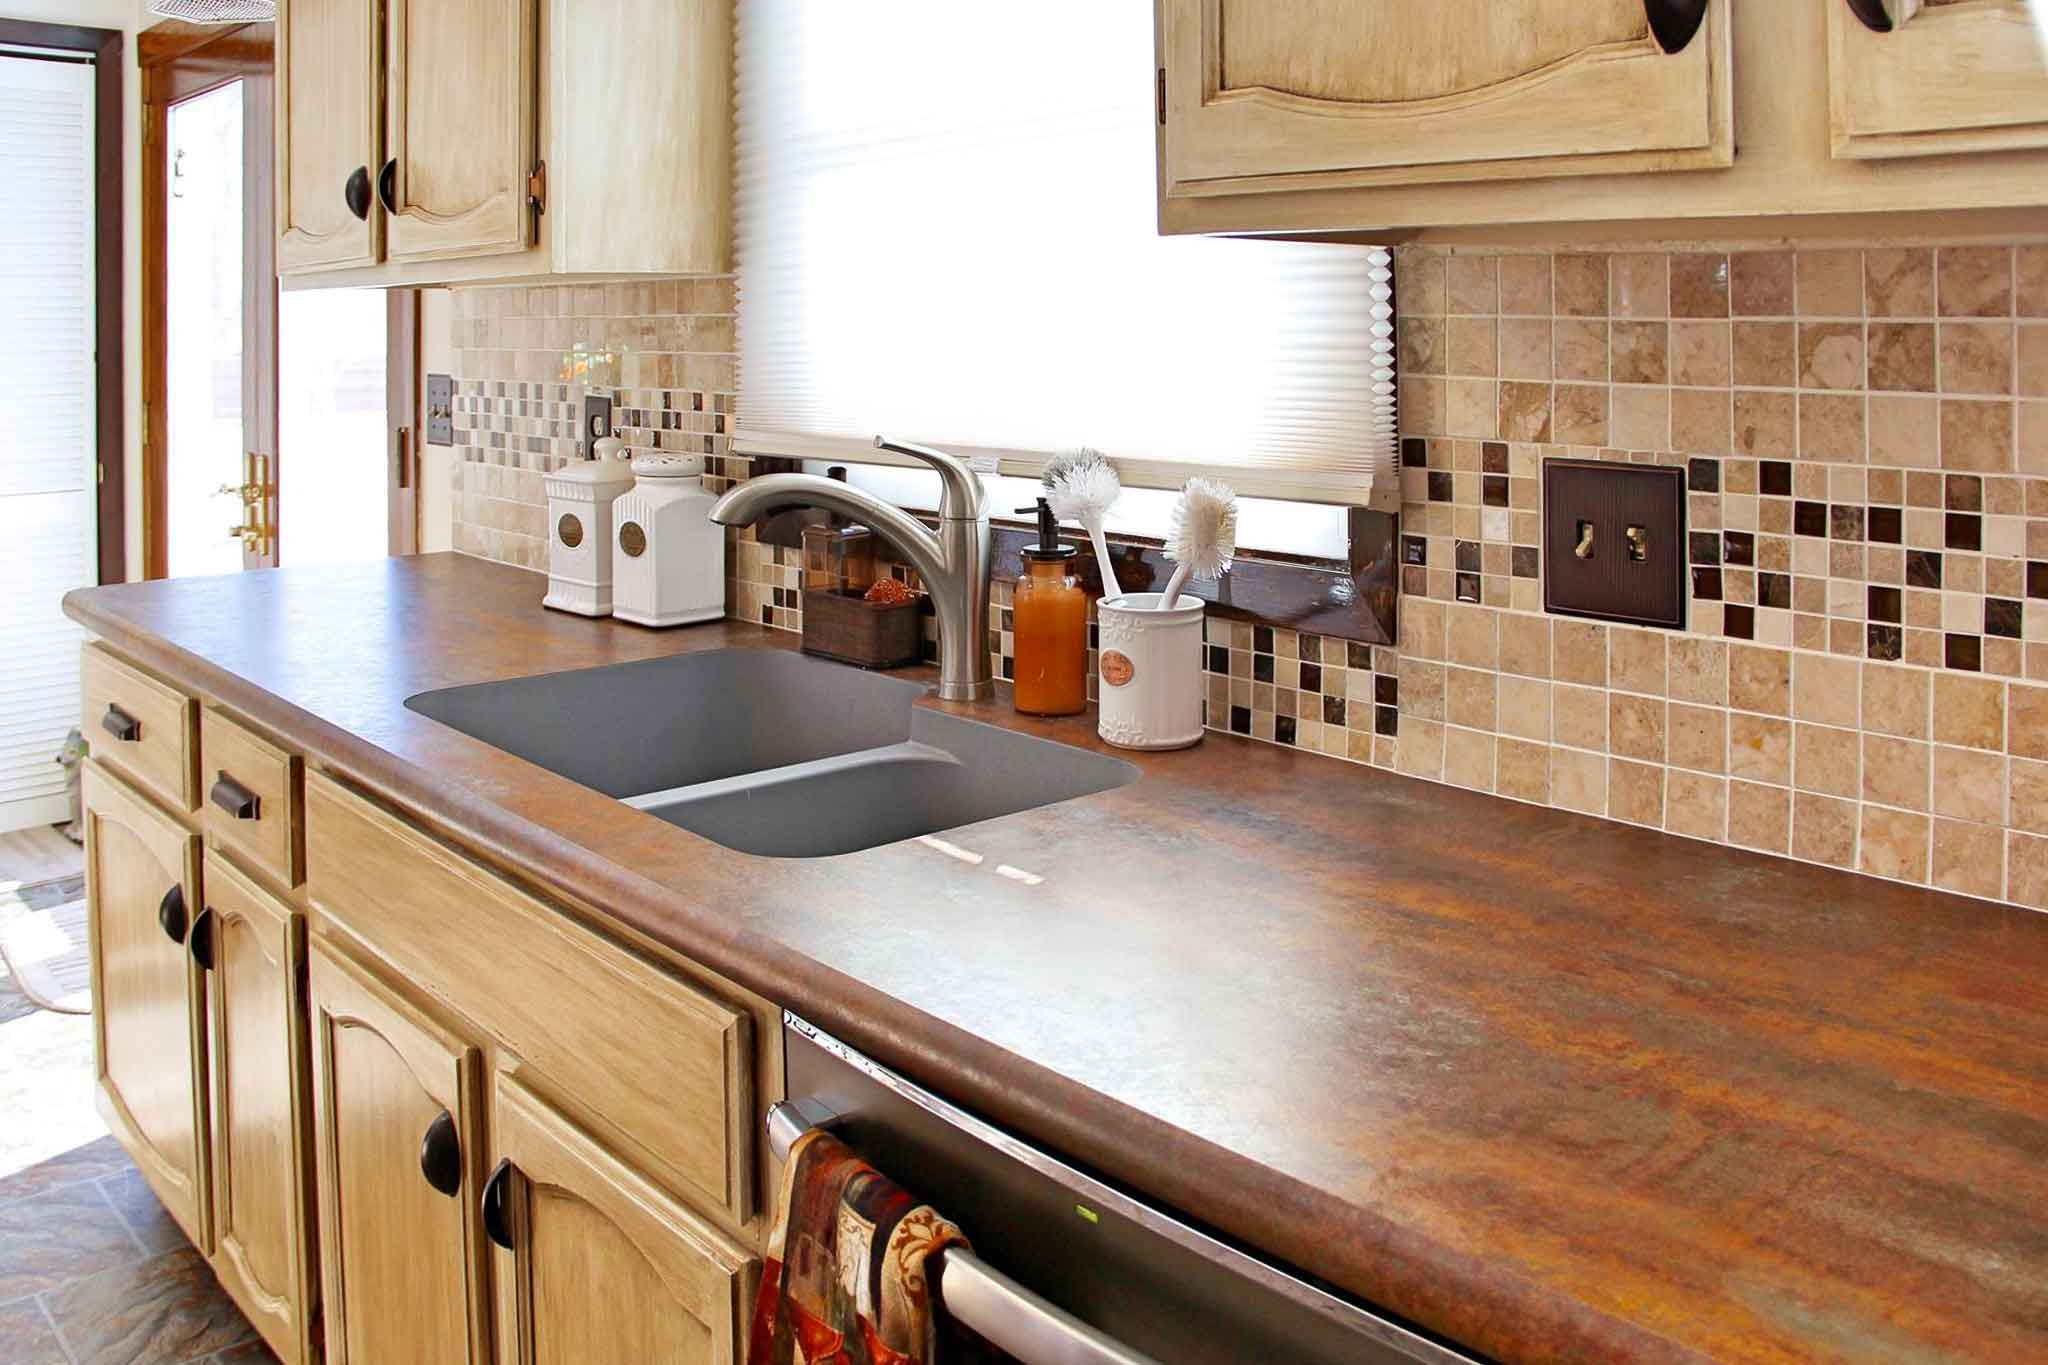
The rich, warm hues of the laminate bring a welcoming vibe thats just right for a busy kitchen.
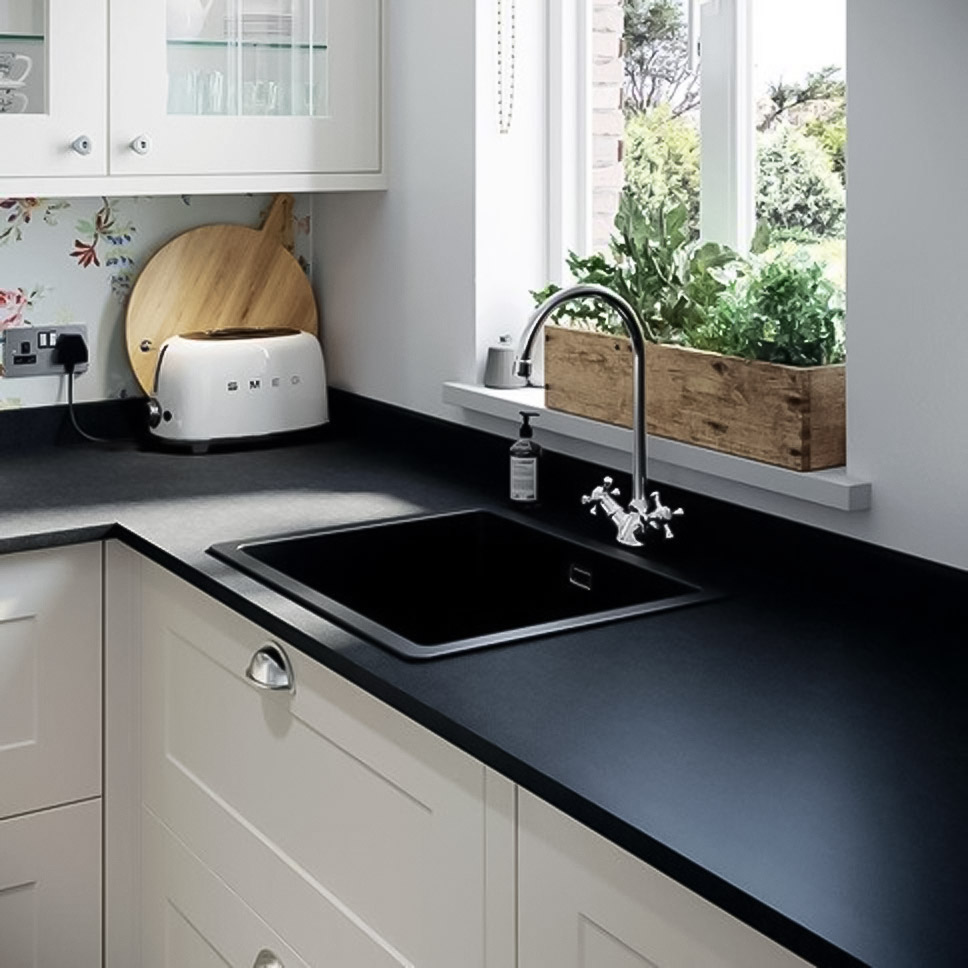
Its practical, its stylish, and best of all, its kind to your budget.